
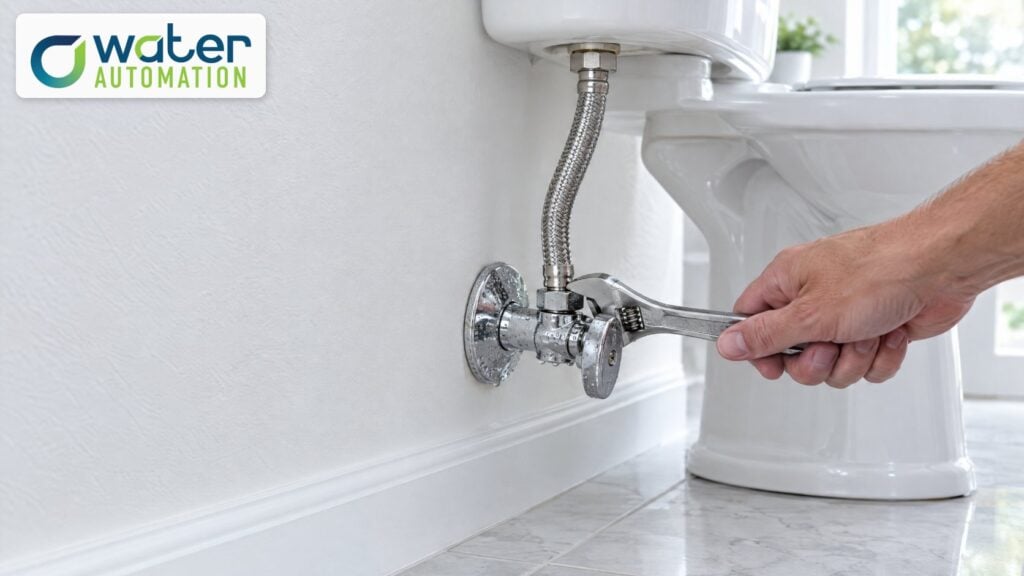
If your toilet shut-off valve is leaking around the handle, the fix is usually a small turn of the packing nut just behind the handle. If it drips where the supply line connects, snug that nut or replace the line. If the valve won’t stop the water when it’s closed, the valve itself is worn out and should be replaced.
The shut-off valve (often called an angle stop) is the small valve on the wall or floor behind your toilet. It controls the water running up the supply line into the tank. Here’s how to work out where yours is leaking and what to do about it.
Dry everything with a paper towel, open the valve fully, and watch. Water usually shows up in one of four places:
Rule out condensation too. In humid weather a cold supply line can sweat and drip, which looks like a leak but stops when the air dries out.
If it still weeps, the packing washer inside is worn. With the main water off, you can take off the handle and nut and replace the washer. On an old valve, though, it usually makes more sense to replace the whole valve.
Snug the outlet nut with a wrench, just enough to stop the drip. Hand-tighten plastic nuts only, because they crack if you overdo it. If the line is old, kinked or rusted, replace it. Supply lines are cheap, and a failed one releases water at full house pressure, which is why burst supply hoses make our list of the common causes of water leaks.
Buy the right length and the right ends. On most toilets, the tank end is a 7/8″ ballcock thread and the valve end is 3/8″ compression.
Older multi-turn valves seal with a rubber washer that hardens over time. You turn the handle all the way and water still trickles into the tank, or the handle won’t move at all. Don’t force it: a seized stem can snap, and then you have a leak you can’t stop.
A valve like this needs replacing. Shut off the main water first (here’s how to turn off the main water to your house).
When you buy a replacement, match two things: how it opens and how it connects to the pipe.
How it opens
How it connects
Shape: an angle stop comes out of the wall; a straight stop comes up through the floor.
Call a plumber if the valve is soldered, if the pipe is corroded or too short to work with, or if the main won’t shut off cleanly.
A shut-off valve only helps when someone is there to close it. A supply line that splits overnight or while you’re away keeps running until someone notices the water. (For the slow leaks inside the tank, see how to tell if your toilet is leaking.)
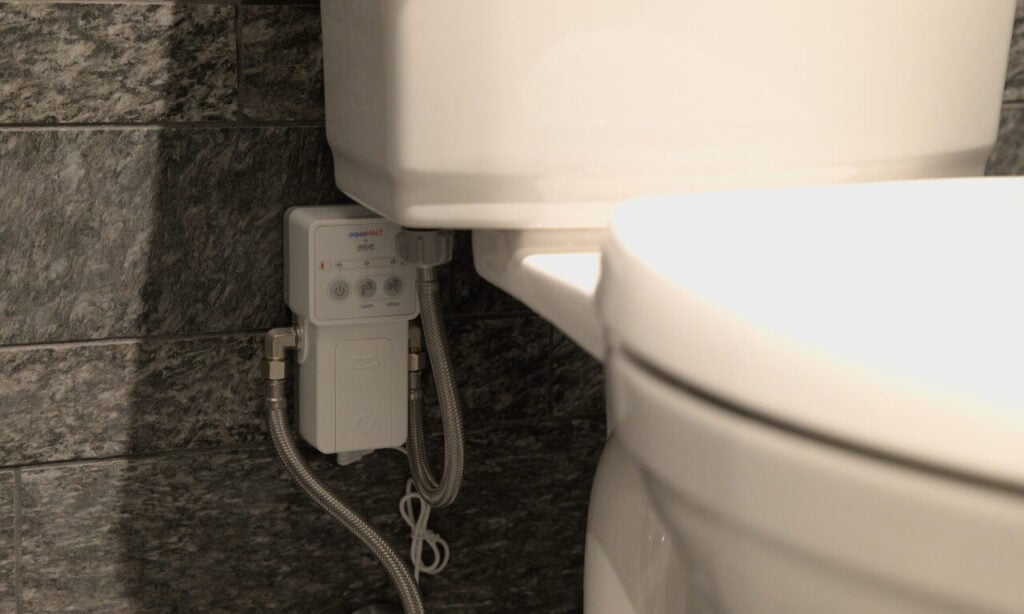
An aquaHALT 2X can do some of that closing for you. It connects between the shut-off valve and the toilet with two 3/8″ hoses and can tuck behind the toilet. When water reaches its floor sensor, it closes the toilet’s water and sounds an alarm. Dry the sensor and press “open” to bring the water back. It runs on 2 AA batteries, with no Wi-Fi or app. The 2X can stop a split in the hose running from it up to the tank. The new hose from the wall valve into the 2X comes before its valve, so if that one splits, water keeps coming until someone closes the wall valve. One note from the aquaHALT manuals: if water still gets through the wall valve when it’s closed, get a plumber to replace that valve before you install. See how the 2X installs.
Clockwise to close. A multi-turn valve takes several turns; a quarter-turn valve closes with a quarter turn.
A leak at the packing nut can usually be fixed by tightening the nut or replacing the packing washer. A valve that won’t shut off fully is worn inside and is usually replaced.
The washer inside an older multi-turn valve wears out or hardens. Replace the valve, ideally with a quarter-turn one.
Usually, yes. It’s inexpensive, and an old line is one more connection that can fail. Check it every six months for bulges, kinks, rust or cracks.