
Why Leak Detection for Apartments Is Non-Negotiable
In a single apartment, a slow drip might not seem like a crisis. But multiply that by ten units. Or a hundred. Then add the compounding damage—wet walls, swollen floorboards, mould creeping behind the drywall. It’s not just water. It’s risk. It’s money. It’s avoidable chaos.
I’ve seen the aftermath myself. One unnoticed leak on the 4th floor soaked through ceilings, destroyed furniture, and sent multiple tenants scrambling for temporary housing. The worst part? It could’ve been caught early—if anyone had been paying attention.
The Apartment Challenge: Shared Systems, Shared Responsibility
Apartments are complex. You’re not just managing your own pipes—you’re often tied to a shared water system, and that means your neighbor’s leak could become your problem fast. And because water moves silently, invisibly even, the damage is often discovered too late.
The first actionable step? Understand your building’s layout. Know where the shut-off valves are. Learn how your plumbing is zoned. If you’re a property manager or part of a body corporate, map this out and share it with residents. Make water awareness part of the culture.
Smart Technology: Your Best Ally
Here’s where things get interesting. Modern leak detection for apartments isn’t just about vigilance—it’s about automation. Smart sensors can monitor appliances, detect moisture, and shut off the supply before a puddle becomes a flood.
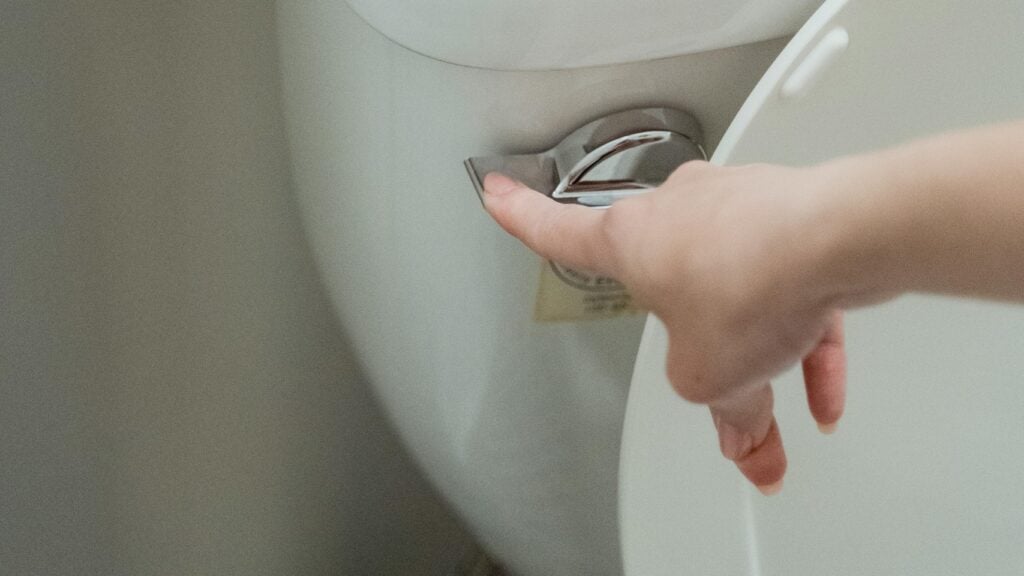
Install these in high-risk areas: under sinks, near washing machines, behind toilets, inside HVAC closets. Even better, opt for a centralized system that alerts building management when something’s off. The technology exists. It’s affordable. It’s fast to install. And it saves thousands in repairs.
Pro tip: Choose systems that send alerts to your phone or dashboard in real time. Delayed notifications defeat the purpose.
Maintenance Routines Matter (More Than You Think)
Even with devices in place, leak detection is only as good as your maintenance schedule. Create a quarterly inspection checklist. Check water heaters. Inspect caulking. Test shut-off valves. Small effort, big payoff.
And don’t forget education. Make sure tenants know what early signs of leaks look like—discolored paint, musty smells, warped wood. Encourage them to report problems early. The faster the response, the lower the cost.
The ROI: More Than Just Savings
Let’s talk return on investment. Leak detection for apartments doesn’t just save on emergency repairs—it boosts property value, reduces insurance claims, and increases tenant satisfaction. No one wants to live in a building with a history of water damage.
Final Thoughts
Leak detection for apartments is no longer a “nice-to-have.” It’s essential. Water doesn’t wait, and neither should we.
I’ve worked with property owners who’ve caught leaks in the first few drops—and others who didn’t know there was a problem until a tenant called screaming about a collapsed ceiling. The difference? A plan. A sensor. A bit of foresight.
Water is patient. But it’s also relentless. Be smarter. Be faster. Invest in leak detection—and sleep better knowing your building is protected.
See also
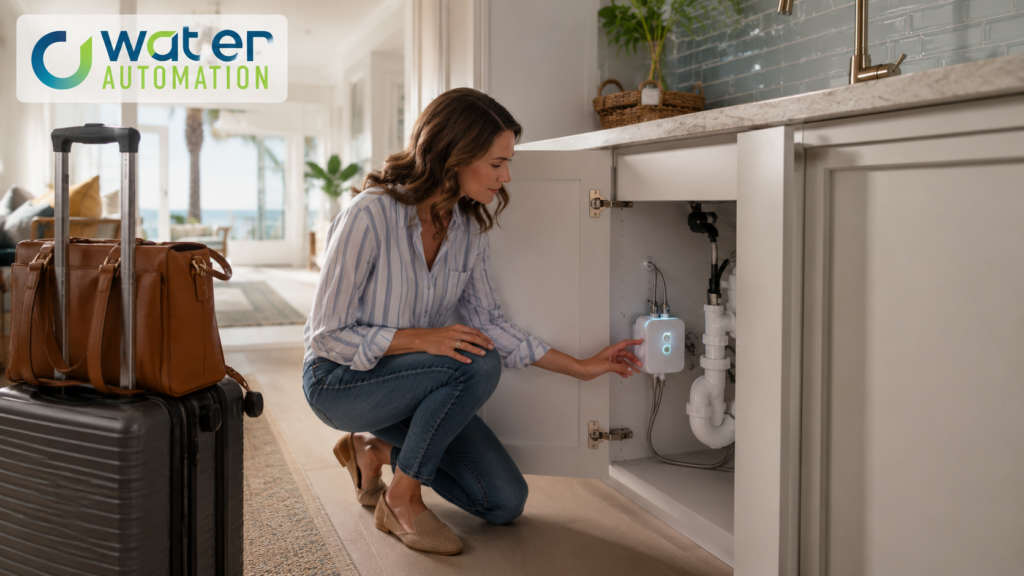
automatic water shutoff for vacation homes works best when the decision begins with observed conditions rather than assumptions. Owners often see a symptom and jump directly to a product, repair or proposal. A stronger process identifies what is happening, where it happens, who is affected and how the finished work will be verified. This guide turns that process into practical steps for properties in homes, apartments and commercial properties.
The right scope depends on fixture condition, connection compatibility, device access and a documented response process. A useful assessment connects those facts to the owner’s priorities, budget and timeline. It also separates immediate safety or damage-control needs from long-term improvements.
Why automatic water shutoff for vacation homes deserves a written plan
A written plan keeps different stakeholders focused on the same outcome. Begin with the locations, fixtures, rooms or building systems included in the project. Note recurring complaints, previous repairs, existing documentation and operational constraints. Photographs and dated observations are more useful than vague descriptions.
Define success in testable language. Instead of saying “make it better,” identify the event to prevent or detect, the area that must be protected, the expected response and the person responsible. This makes proposals easier to compare and gives the installer or contractor a clear acceptance target.
Review the relevant service information before requesting proposals. It establishes what the client actually offers. For broader context, consult this authoritative resource. General guidance does not replace a site-specific evaluation, manufacturer instructions, applicable codes or qualified professional advice.
Inspect existing conditions before choosing a solution
Start with a safe, structured inspection. Do not climb onto damaged roofs, open energized equipment or modify plumbing or security hardware without the right training. Record visible conditions from safe locations and gather drawings, maintenance records, prior invoices and equipment details.
Look for patterns. Does the issue appear only after a storm, during peak occupancy, at one fixture, after a network change or in a particular season? When did it begin? Has a temporary repair changed the symptom? Pattern questions help distinguish a local defect from a system-wide problem.
Existing infrastructure may be reusable, but reuse should be verified rather than assumed. Condition, compatibility, capacity, support status and access all matter. A component that still turns on may nevertheless be unsuitable for the intended result.
Questions to answer during the review
- What problem are we trying to prevent, detect or correct?
- Which areas and users are included or excluded?
- What existing components may remain, and how will compatibility be confirmed?
- Are there access, safety, power, network, drainage or shutdown constraints?
- Who approves changes and who owns the system after handoff?
- What evidence will prove the work performs as intended?
Build a comparable scope and budget
Ask providers to price the same written scope. A lower proposal may exclude access work, disposal, testing, documentation or support. A higher proposal may include features that are unnecessary for the property. Require clear assumptions, exclusions and allowances so the comparison is about value rather than headline totals.
Include preparation, installation, commissioning and closeout. Preparation may involve surveys, measurements, permits, coordination or product selection. Installation should identify locations and materials. Commissioning should state what is tested. Closeout should include photographs, reports, manuals, settings or as-built information appropriate to the work.
Avoid making decisions under artificial pressure. Urgent leaks and hazards require prompt stabilization, but long-term work should still have a documented reason. Ask why a recommended option fits the observed condition, what alternatives were considered and what would change the recommendation.
Pilot and verify automatic water shutoff for vacation homes
For repeatable installations or multi-location projects, test a representative area first. A pilot exposes access problems, incompatible fittings or hardware, documentation gaps and training needs before they multiply. Choose a normal site or unit, not only the easiest example.
Record baseline conditions, the approved work and the acceptance results. If the pilot changes the plan, update the scope before scaling. Communicate expected interruptions and support contacts to occupants or staff. Keep safety procedures and official instructions available to the people performing the work.
Commissioning should prove realistic operation, not merely confirm that something powers on or looks finished. Test normal behavior and relevant warning, failure or response conditions. Confirm labels, settings, drainage paths, permissions, shutoff behavior or surface details as applicable.
Acceptance checklist
- Confirm installed locations and products match the approved scope.
- Test normal operation and relevant warning or failure conditions.
- Record exceptions and correct them before final sign-off.
- Collect photographs, reports, manuals and approved field changes.
- Train the person responsible for routine use and maintenance.
- Record support contacts and the process for future changes.
Plan maintenance and ownership
Every project needs an owner after installation. Name the person responsible for routine checks, account or access changes, cleaning, batteries, drainage, inspections or service calls as applicable. Put recurring tasks on a calendar and keep records where the next technician can find them.
Schedule an early follow-up after normal use or a relevant weather cycle. Occupancy, seasonal conditions and daily operation can reveal issues that were not visible on completion day. Prompt corrections protect the investment and keep small defects from becoming disruptive.
See the client’s related resource for the next layer of information. Connecting educational content to a real service or product page helps the reader move from research to an appropriate, supportable action.
Common mistakes to avoid
The most common mistake is selecting a solution before confirming the cause. Others include assuming every property or unit is identical, ignoring existing-condition constraints, failing to assign response ownership and accepting work without testing or documentation. Scattered closeout records also make future maintenance slower and riskier.
A better rhythm is simple: inspect, define, compare, pilot, verify and document. It does not remove every surprise, but it creates a traceable reason for each decision and a fair standard for judging the result.
Frequently asked questions
Can an owner complete the initial review?
Yes, owners can gather records and make safe observations. Hazardous access, technical testing and final recommendations should be handled by qualified professionals.
Is the most expensive option always best?
No. The best option is the one that addresses verified conditions, fits the property and includes the testing and support the owner actually needs.
Can existing equipment or materials be reused?
Sometimes. Reuse depends on condition, compatibility, capacity, support status and the intended outcome.
What should I receive at handoff?
Request appropriate test results, photos, manuals, settings, product details, as-built changes, maintenance instructions and support contacts.
Take the next step on automatic water shutoff for vacation homes
Strong automatic water shutoff for vacation homes begins with evidence, a defined outcome and a scope that can be tested. The answer may be a focused repair, a phased rollout, a compatible product or a broader improvement; observed conditions should drive that choice.
Ready to discuss the property or project? Contact Water Automation / aquaHALT to share the location, goals and timing, and request the appropriate next step.
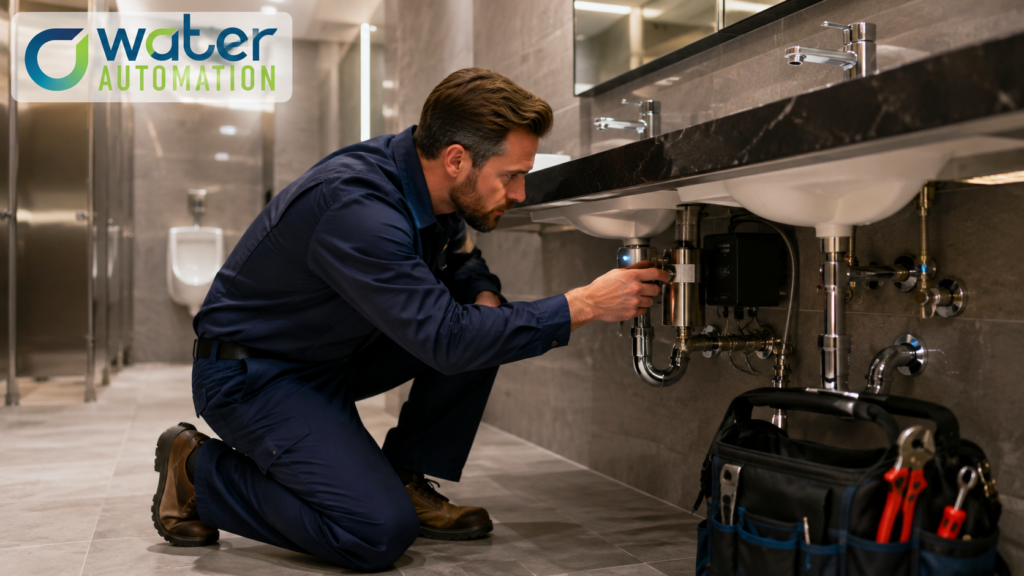
commercial restroom leak detection works best when the decision begins with observed conditions rather than assumptions. Owners often see a symptom and jump directly to a product, repair or proposal. A stronger process identifies what is happening, where it happens, who is affected and how the finished work will be verified. This guide turns that process into practical steps for properties in homes, apartments and commercial properties.
The right scope depends on fixture condition, connection compatibility, device access and a documented response process. A useful assessment connects those facts to the owner’s priorities, budget and timeline. It also separates immediate safety or damage-control needs from long-term improvements.
Why commercial restroom leak detection deserves a written plan
A written plan keeps different stakeholders focused on the same outcome. Begin with the locations, fixtures, rooms or building systems included in the project. Note recurring complaints, previous repairs, existing documentation and operational constraints. Photographs and dated observations are more useful than vague descriptions.
Define success in testable language. Instead of saying “make it better,” identify the event to prevent or detect, the area that must be protected, the expected response and the person responsible. This makes proposals easier to compare and gives the installer or contractor a clear acceptance target.
Review the relevant service information before requesting proposals. It establishes what the client actually offers. For broader context, consult this authoritative resource. General guidance does not replace a site-specific evaluation, manufacturer instructions, applicable codes or qualified professional advice.
Inspect existing conditions before choosing a solution
Start with a safe, structured inspection. Do not climb onto damaged roofs, open energized equipment or modify plumbing or security hardware without the right training. Record visible conditions from safe locations and gather drawings, maintenance records, prior invoices and equipment details.
Look for patterns. Does the issue appear only after a storm, during peak occupancy, at one fixture, after a network change or in a particular season? When did it begin? Has a temporary repair changed the symptom? Pattern questions help distinguish a local defect from a system-wide problem.
Existing infrastructure may be reusable, but reuse should be verified rather than assumed. Condition, compatibility, capacity, support status and access all matter. A component that still turns on may nevertheless be unsuitable for the intended result.
Questions to answer during the review
- What problem are we trying to prevent, detect or correct?
- Which areas and users are included or excluded?
- What existing components may remain, and how will compatibility be confirmed?
- Are there access, safety, power, network, drainage or shutdown constraints?
- Who approves changes and who owns the system after handoff?
- What evidence will prove the work performs as intended?
Build a comparable scope and budget
Ask providers to price the same written scope. A lower proposal may exclude access work, disposal, testing, documentation or support. A higher proposal may include features that are unnecessary for the property. Require clear assumptions, exclusions and allowances so the comparison is about value rather than headline totals.
Include preparation, installation, commissioning and closeout. Preparation may involve surveys, measurements, permits, coordination or product selection. Installation should identify locations and materials. Commissioning should state what is tested. Closeout should include photographs, reports, manuals, settings or as-built information appropriate to the work.
Avoid making decisions under artificial pressure. Urgent leaks and hazards require prompt stabilization, but long-term work should still have a documented reason. Ask why a recommended option fits the observed condition, what alternatives were considered and what would change the recommendation.
Pilot and verify commercial restroom leak detection
For repeatable installations or multi-location projects, test a representative area first. A pilot exposes access problems, incompatible fittings or hardware, documentation gaps and training needs before they multiply. Choose a normal site or unit, not only the easiest example.
Record baseline conditions, the approved work and the acceptance results. If the pilot changes the plan, update the scope before scaling. Communicate expected interruptions and support contacts to occupants or staff. Keep safety procedures and official instructions available to the people performing the work.
Commissioning should prove realistic operation, not merely confirm that something powers on or looks finished. Test normal behavior and relevant warning, failure or response conditions. Confirm labels, settings, drainage paths, permissions, shutoff behavior or surface details as applicable.
Acceptance checklist
- Confirm installed locations and products match the approved scope.
- Test normal operation and relevant warning or failure conditions.
- Record exceptions and correct them before final sign-off.
- Collect photographs, reports, manuals and approved field changes.
- Train the person responsible for routine use and maintenance.
- Record support contacts and the process for future changes.
Plan maintenance and ownership
Every project needs an owner after installation. Name the person responsible for routine checks, account or access changes, cleaning, batteries, drainage, inspections or service calls as applicable. Put recurring tasks on a calendar and keep records where the next technician can find them.
Schedule an early follow-up after normal use or a relevant weather cycle. Occupancy, seasonal conditions and daily operation can reveal issues that were not visible on completion day. Prompt corrections protect the investment and keep small defects from becoming disruptive.
See the client’s related resource for the next layer of information. Connecting educational content to a real service or product page helps the reader move from research to an appropriate, supportable action.
Common mistakes to avoid
The most common mistake is selecting a solution before confirming the cause. Others include assuming every property or unit is identical, ignoring existing-condition constraints, failing to assign response ownership and accepting work without testing or documentation. Scattered closeout records also make future maintenance slower and riskier.
A better rhythm is simple: inspect, define, compare, pilot, verify and document. It does not remove every surprise, but it creates a traceable reason for each decision and a fair standard for judging the result.
Frequently asked questions
Can an owner complete the initial review?
Yes, owners can gather records and make safe observations. Hazardous access, technical testing and final recommendations should be handled by qualified professionals.
Is the most expensive option always best?
No. The best option is the one that addresses verified conditions, fits the property and includes the testing and support the owner actually needs.
Can existing equipment or materials be reused?
Sometimes. Reuse depends on condition, compatibility, capacity, support status and the intended outcome.
What should I receive at handoff?
Request appropriate test results, photos, manuals, settings, product details, as-built changes, maintenance instructions and support contacts.
Take the next step on commercial restroom leak detection
Strong commercial restroom leak detection begins with evidence, a defined outcome and a scope that can be tested. The answer may be a focused repair, a phased rollout, a compatible product or a broader improvement; observed conditions should drive that choice.
Ready to discuss the property or project? Contact Water Automation / aquaHALT to share the location, goals and timing, and request the appropriate next step.
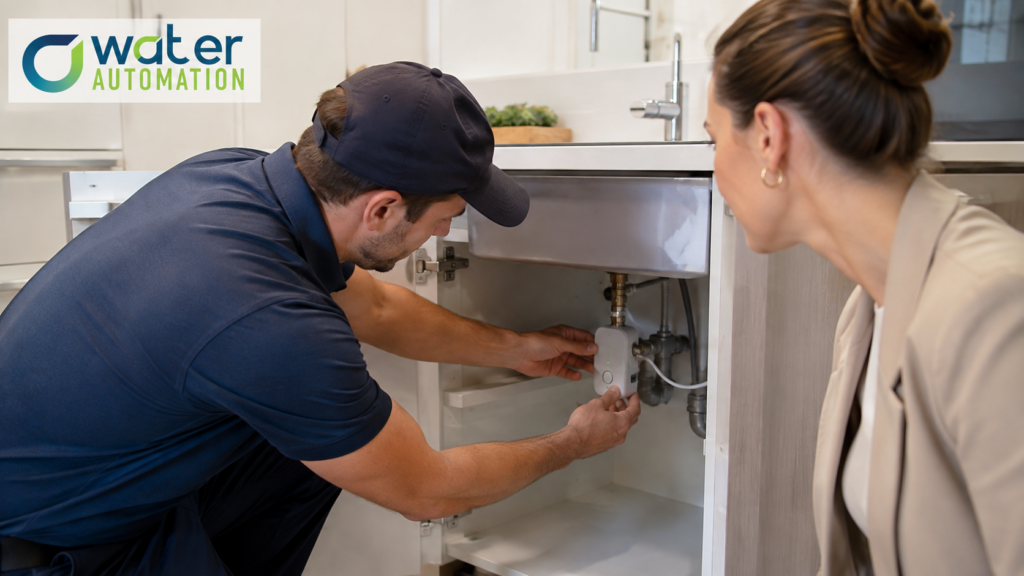
fixture-level leak detection for apartments works best when the decision begins with observed conditions rather than assumptions. Owners often see a symptom and jump directly to a product, repair or proposal. A stronger process identifies what is happening, where it happens, who is affected and how the finished work will be verified. This guide turns that process into practical steps for properties in homes, apartments and commercial properties.
The right scope depends on fixture condition, connection compatibility, device access and a documented response process. A useful assessment connects those facts to the owner’s priorities, budget and timeline. It also separates immediate safety or damage-control needs from long-term improvements.
Why fixture-level leak detection for apartments deserves a written plan
A written plan keeps different stakeholders focused on the same outcome. Begin with the locations, fixtures, rooms or building systems included in the project. Note recurring complaints, previous repairs, existing documentation and operational constraints. Photographs and dated observations are more useful than vague descriptions.
Define success in testable language. Instead of saying “make it better,” identify the event to prevent or detect, the area that must be protected, the expected response and the person responsible. This makes proposals easier to compare and gives the installer or contractor a clear acceptance target.
Review the relevant service information before requesting proposals. It establishes what the client actually offers. For broader context, consult this authoritative resource. General guidance does not replace a site-specific evaluation, manufacturer instructions, applicable codes or qualified professional advice.
Inspect existing conditions before choosing a solution
Start with a safe, structured inspection. Do not climb onto damaged roofs, open energized equipment or modify plumbing or security hardware without the right training. Record visible conditions from safe locations and gather drawings, maintenance records, prior invoices and equipment details.
Look for patterns. Does the issue appear only after a storm, during peak occupancy, at one fixture, after a network change or in a particular season? When did it begin? Has a temporary repair changed the symptom? Pattern questions help distinguish a local defect from a system-wide problem.
Existing infrastructure may be reusable, but reuse should be verified rather than assumed. Condition, compatibility, capacity, support status and access all matter. A component that still turns on may nevertheless be unsuitable for the intended result.
Questions to answer during the review
- What problem are we trying to prevent, detect or correct?
- Which areas and users are included or excluded?
- What existing components may remain, and how will compatibility be confirmed?
- Are there access, safety, power, network, drainage or shutdown constraints?
- Who approves changes and who owns the system after handoff?
- What evidence will prove the work performs as intended?
Build a comparable scope and budget
Ask providers to price the same written scope. A lower proposal may exclude access work, disposal, testing, documentation or support. A higher proposal may include features that are unnecessary for the property. Require clear assumptions, exclusions and allowances so the comparison is about value rather than headline totals.
Include preparation, installation, commissioning and closeout. Preparation may involve surveys, measurements, permits, coordination or product selection. Installation should identify locations and materials. Commissioning should state what is tested. Closeout should include photographs, reports, manuals, settings or as-built information appropriate to the work.
Avoid making decisions under artificial pressure. Urgent leaks and hazards require prompt stabilization, but long-term work should still have a documented reason. Ask why a recommended option fits the observed condition, what alternatives were considered and what would change the recommendation.
Pilot and verify fixture-level leak detection for apartments
For repeatable installations or multi-location projects, test a representative area first. A pilot exposes access problems, incompatible fittings or hardware, documentation gaps and training needs before they multiply. Choose a normal site or unit, not only the easiest example.
Record baseline conditions, the approved work and the acceptance results. If the pilot changes the plan, update the scope before scaling. Communicate expected interruptions and support contacts to occupants or staff. Keep safety procedures and official instructions available to the people performing the work.
Commissioning should prove realistic operation, not merely confirm that something powers on or looks finished. Test normal behavior and relevant warning, failure or response conditions. Confirm labels, settings, drainage paths, permissions, shutoff behavior or surface details as applicable.
Acceptance checklist
- Confirm installed locations and products match the approved scope.
- Test normal operation and relevant warning or failure conditions.
- Record exceptions and correct them before final sign-off.
- Collect photographs, reports, manuals and approved field changes.
- Train the person responsible for routine use and maintenance.
- Record support contacts and the process for future changes.
Plan maintenance and ownership
Every project needs an owner after installation. Name the person responsible for routine checks, account or access changes, cleaning, batteries, drainage, inspections or service calls as applicable. Put recurring tasks on a calendar and keep records where the next technician can find them.
Schedule an early follow-up after normal use or a relevant weather cycle. Occupancy, seasonal conditions and daily operation can reveal issues that were not visible on completion day. Prompt corrections protect the investment and keep small defects from becoming disruptive.
See the client’s related resource for the next layer of information. Connecting educational content to a real service or product page helps the reader move from research to an appropriate, supportable action.
Common mistakes to avoid
The most common mistake is selecting a solution before confirming the cause. Others include assuming every property or unit is identical, ignoring existing-condition constraints, failing to assign response ownership and accepting work without testing or documentation. Scattered closeout records also make future maintenance slower and riskier.
A better rhythm is simple: inspect, define, compare, pilot, verify and document. It does not remove every surprise, but it creates a traceable reason for each decision and a fair standard for judging the result.
Frequently asked questions
Can an owner complete the initial review?
Yes, owners can gather records and make safe observations. Hazardous access, technical testing and final recommendations should be handled by qualified professionals.
Is the most expensive option always best?
No. The best option is the one that addresses verified conditions, fits the property and includes the testing and support the owner actually needs.
Can existing equipment or materials be reused?
Sometimes. Reuse depends on condition, compatibility, capacity, support status and the intended outcome.
What should I receive at handoff?
Request appropriate test results, photos, manuals, settings, product details, as-built changes, maintenance instructions and support contacts.
Take the next step on fixture-level leak detection for apartments
Strong fixture-level leak detection for apartments begins with evidence, a defined outcome and a scope that can be tested. The answer may be a focused repair, a phased rollout, a compatible product or a broader improvement; observed conditions should drive that choice.
Ready to discuss the property or project? Contact Water Automation / aquaHALT to share the location, goals and timing, and request the appropriate next step.
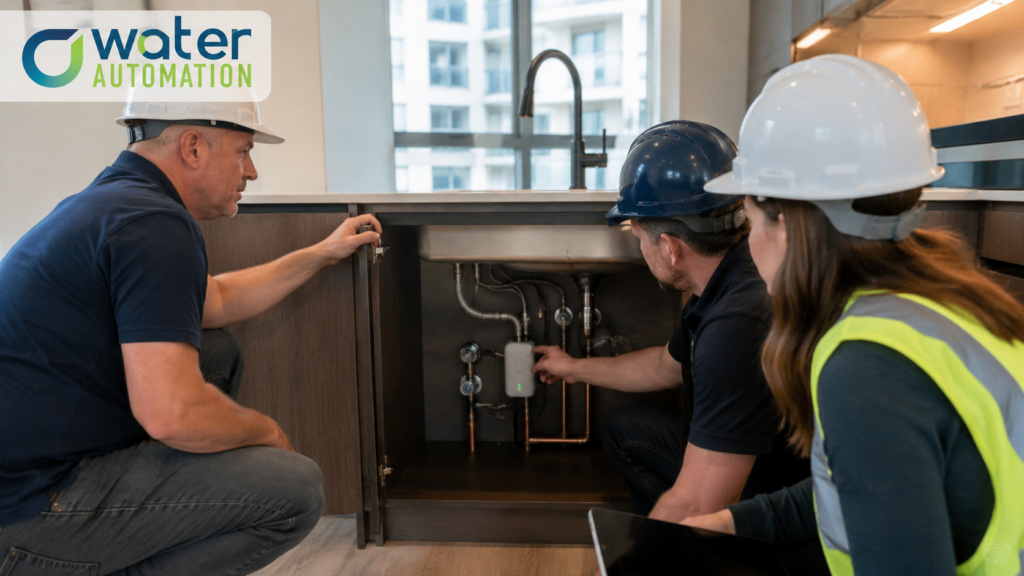
water leak protection for new construction works best when the decision begins with observed conditions rather than assumptions. Owners often see a symptom and jump directly to a product, repair or proposal. A stronger process identifies what is happening, where it happens, who is affected and how the finished work will be verified. This guide turns that process into practical steps for properties in homes, apartments and commercial properties.
The right scope depends on fixture condition, connection compatibility, device access and a documented response process. A useful assessment connects those facts to the owner’s priorities, budget and timeline. It also separates immediate safety or damage-control needs from long-term improvements.
Why water leak protection for new construction deserves a written plan
A written plan keeps different stakeholders focused on the same outcome. Begin with the locations, fixtures, rooms or building systems included in the project. Note recurring complaints, previous repairs, existing documentation and operational constraints. Photographs and dated observations are more useful than vague descriptions.
Define success in testable language. Instead of saying “make it better,” identify the event to prevent or detect, the area that must be protected, the expected response and the person responsible. This makes proposals easier to compare and gives the installer or contractor a clear acceptance target.
Review the relevant service information before requesting proposals. It establishes what the client actually offers. For broader context, consult this authoritative resource. General guidance does not replace a site-specific evaluation, manufacturer instructions, applicable codes or qualified professional advice.
Inspect existing conditions before choosing a solution
Start with a safe, structured inspection. Do not climb onto damaged roofs, open energized equipment or modify plumbing or security hardware without the right training. Record visible conditions from safe locations and gather drawings, maintenance records, prior invoices and equipment details.
Look for patterns. Does the issue appear only after a storm, during peak occupancy, at one fixture, after a network change or in a particular season? When did it begin? Has a temporary repair changed the symptom? Pattern questions help distinguish a local defect from a system-wide problem.
Existing infrastructure may be reusable, but reuse should be verified rather than assumed. Condition, compatibility, capacity, support status and access all matter. A component that still turns on may nevertheless be unsuitable for the intended result.
Questions to answer during the review
- What problem are we trying to prevent, detect or correct?
- Which areas and users are included or excluded?
- What existing components may remain, and how will compatibility be confirmed?
- Are there access, safety, power, network, drainage or shutdown constraints?
- Who approves changes and who owns the system after handoff?
- What evidence will prove the work performs as intended?
Build a comparable scope and budget
Ask providers to price the same written scope. A lower proposal may exclude access work, disposal, testing, documentation or support. A higher proposal may include features that are unnecessary for the property. Require clear assumptions, exclusions and allowances so the comparison is about value rather than headline totals.
Include preparation, installation, commissioning and closeout. Preparation may involve surveys, measurements, permits, coordination or product selection. Installation should identify locations and materials. Commissioning should state what is tested. Closeout should include photographs, reports, manuals, settings or as-built information appropriate to the work.
Avoid making decisions under artificial pressure. Urgent leaks and hazards require prompt stabilization, but long-term work should still have a documented reason. Ask why a recommended option fits the observed condition, what alternatives were considered and what would change the recommendation.
Pilot and verify water leak protection for new construction
For repeatable installations or multi-location projects, test a representative area first. A pilot exposes access problems, incompatible fittings or hardware, documentation gaps and training needs before they multiply. Choose a normal site or unit, not only the easiest example.
Record baseline conditions, the approved work and the acceptance results. If the pilot changes the plan, update the scope before scaling. Communicate expected interruptions and support contacts to occupants or staff. Keep safety procedures and official instructions available to the people performing the work.
Commissioning should prove realistic operation, not merely confirm that something powers on or looks finished. Test normal behavior and relevant warning, failure or response conditions. Confirm labels, settings, drainage paths, permissions, shutoff behavior or surface details as applicable.
Acceptance checklist
- Confirm installed locations and products match the approved scope.
- Test normal operation and relevant warning or failure conditions.
- Record exceptions and correct them before final sign-off.
- Collect photographs, reports, manuals and approved field changes.
- Train the person responsible for routine use and maintenance.
- Record support contacts and the process for future changes.
Plan maintenance and ownership
Every project needs an owner after installation. Name the person responsible for routine checks, account or access changes, cleaning, batteries, drainage, inspections or service calls as applicable. Put recurring tasks on a calendar and keep records where the next technician can find them.
Schedule an early follow-up after normal use or a relevant weather cycle. Occupancy, seasonal conditions and daily operation can reveal issues that were not visible on completion day. Prompt corrections protect the investment and keep small defects from becoming disruptive.
See the client’s related resource for the next layer of information. Connecting educational content to a real service or product page helps the reader move from research to an appropriate, supportable action.
Common mistakes to avoid
The most common mistake is selecting a solution before confirming the cause. Others include assuming every property or unit is identical, ignoring existing-condition constraints, failing to assign response ownership and accepting work without testing or documentation. Scattered closeout records also make future maintenance slower and riskier.
A better rhythm is simple: inspect, define, compare, pilot, verify and document. It does not remove every surprise, but it creates a traceable reason for each decision and a fair standard for judging the result.
Frequently asked questions
Can an owner complete the initial review?
Yes, owners can gather records and make safe observations. Hazardous access, technical testing and final recommendations should be handled by qualified professionals.
Is the most expensive option always best?
No. The best option is the one that addresses verified conditions, fits the property and includes the testing and support the owner actually needs.
Can existing equipment or materials be reused?
Sometimes. Reuse depends on condition, compatibility, capacity, support status and the intended outcome.
What should I receive at handoff?
Request appropriate test results, photos, manuals, settings, product details, as-built changes, maintenance instructions and support contacts.
Take the next step on water leak protection for new construction
Strong water leak protection for new construction begins with evidence, a defined outcome and a scope that can be tested. The answer may be a focused repair, a phased rollout, a compatible product or a broader improvement; observed conditions should drive that choice.
Ready to discuss the property or project? Contact Water Automation / aquaHALT to share the location, goals and timing, and request the appropriate next step.