

“Water damage is the second most common insurance claim in the U.S.—and the average claim exceeds $11,000.”
That’s not a typo. Eleven thousand dollars. From a pipe you probably didn’t even know was leaking.
I learned that stat the hard way—walking into my basement one Monday morning to find soggy boxes, a warped floor, and a quiet, relentless drip behind a wall that had been going unnoticed for days.
Here’s the thing: most leaks don’t start with a dramatic burst pipe. They start small. Invisible. Silent. But left undetected, they become expensive fast. And that’s where a smart leak detector changes the game.
A modern smart leak detector isn’t just a passive sensor that chirps when there’s trouble. The best ones are Wi-Fi connected, monitor water flow in real time, and can even shut off your water supply automatically if a leak is detected.
Here’s how I use mine:
Some models (like the Flo by Moen or Phyn Plus) can even cut off the water supply immediately if they detect a catastrophic leak.
The result? I can travel without worrying. I can leave the dishwasher running overnight without checking it twice. And most importantly, I’ve avoided at least one very expensive disaster.
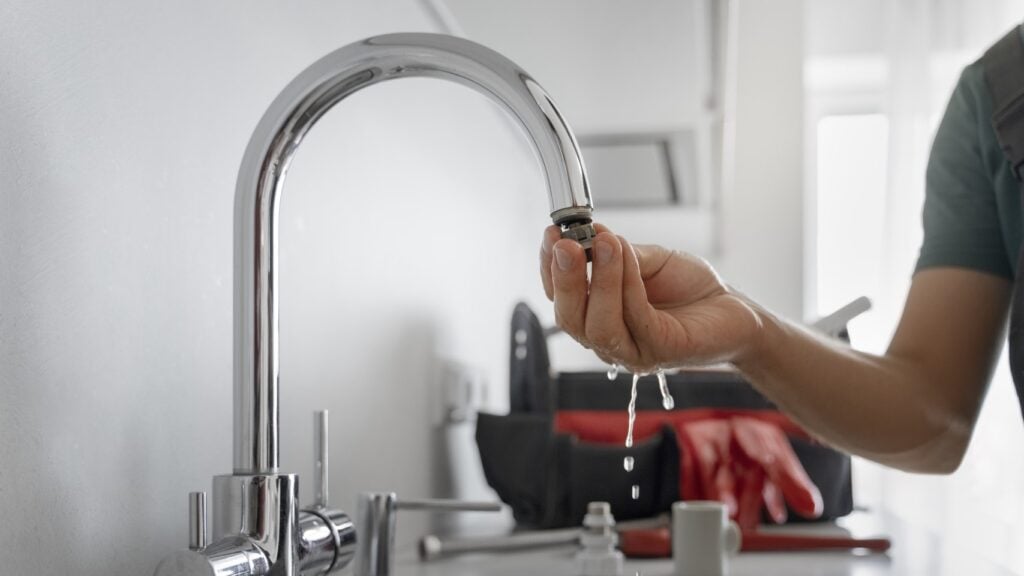
A good smart leak detector costs between $100 and $500, depending on how many sensors you need and whether you opt for automatic shut-off. Installation is usually DIY, though you might want a plumber for whole-home systems.
Compare that to:
It pays for itself the moment it catches just one problem early.
Here’s a quick checklist I give friends:
Bonus tip: Many insurance companies now offer discounts if you install one. Call yours and ask. That alone could cover the device cost.
Water damage doesn’t knock before it enters. But a smart leak detector stands at the door, watching—and acting—so you don’t have to deal with the cleanup later. For a few hundred dollars and an hour of setup, you can avoid a financial gut punch that most people only realize after it’s too late.
If you own a home, this is a no-brainer. Buy one. Set it up. Sleep better.
Your future self—standing in a dry, damage-free living room—will thank you.

“One inch of water can cause more than $25,000 in damage.”
That’s not a hypothetical. It’s what my insurance adjuster told me—after my laundry room flooded.
Water damage doesn’t play fair. And when it hits, it hits fast. But here’s what I’ve learned: preventing water damage in your house is not about luck. It’s about planning.
Here’s how I approach it now:
Those rubber hoses behind your washing machine or dishwasher? They’re a liability. I replaced mine with braided stainless steel. If you’re serious about preventing water damage in your house, this is one of the simplest upgrades you can make.
High water pressure feels luxurious—until it cracks a pipe. I installed a water pressure regulator and dropped my PSI from 90 to 65. That little change helps in preventing water damage in your house long-term.
After every major storm, I give my roof a visual check—looking for lifted shingles, rusted flashing, and pooling water. Water gets in from the top down. Stay ahead of it.
I noticed small watermarks near my window frames. Turns out, poor sealing was the culprit. I used a simple caulk kit to fix it, and the problem disappeared.
My friend lost their entire basement to a power outage during a rainstorm. I learned from their mistake. Now I have a pump—and a backup system—ready to go.
Preventing water damage in your house isn’t complicated. But it does take vigilance. Every pipe, hose, and roofline is a potential point of failure. Get familiar with them. Stay one step ahead—and your home stays safe.
“Water damage accounts for nearly 24% of all homeowner insurance claims in the U.S.”
That’s not a statistic. That’s a warning. One I learned the hard way.
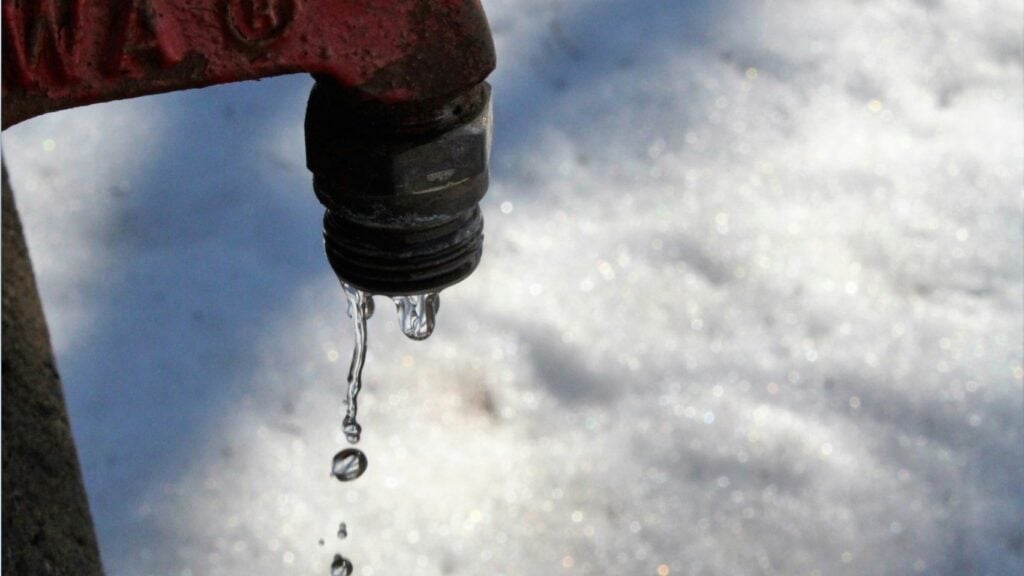
Water doesn’t always burst in like a broken dam. Most of the time, it starts with a drip. A slow leak. The kind that hides behind walls, under floorboards, or inside cabinets—until it’s too late. So I began learning how to stop water damage at home, and it changed everything.
Here’s what works—and what I now swear by:
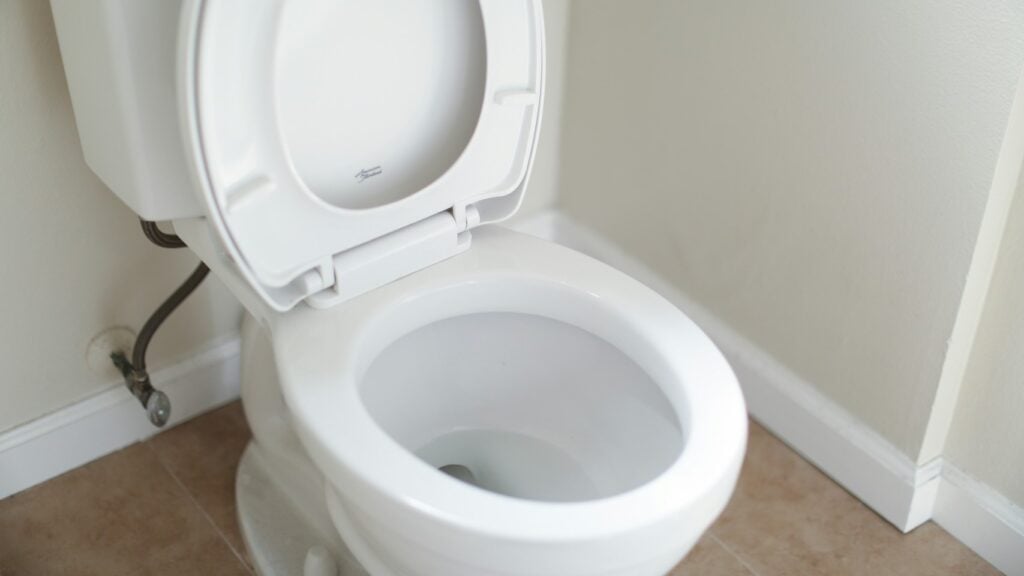
Check under sinks, behind appliances, around toilets. I found a small leak under my kitchen sink that had been slowly warping the cabinet base. Catching it early saved me thousands. This is your first defense in learning how to stop water damage at home.
2. Install smart sensors
A small device under the water heater now sends alerts straight to my phone. It caught a slow leak I would’ve never noticed. If you want to know how to stop water damage at home with minimal effort, this is a no-brainer.
3. Gutter and landscape maintenance
Blocked gutters and poorly graded soil are top contributors to foundation water damage. I clean mine every three months and adjusted the slope of the soil to push water away from the house.
4. Know your main shut-off valve
Practice turning it off. Label it. Make sure your family knows where it is. When a pipe burst in my neighbor’s house, they lost 30 minutes trying to find it. That delay caused most of the damage.
5. Check appliance hoses
Fridge, dishwasher, washing machine—replace those old rubber hoses with stainless steel ones every five years. It’s a quick win.
Stopping water damage isn’t about expensive upgrades—it’s about knowing your house and staying ahead. Don’t wait until the damage is visible. Prevent it while it’s still invisible.
“Water damage is the second most common insurance claim filed by homeowners and renters—yet it’s the most preventable.” – Insurance Information Institute
When I first started managing apartment buildings, I assumed fire would be the thing to watch out for. I was wrong. It was water. Silent, creeping, relentless. Leaks don’t just ruin ceilings—they ruin budgets, relationships, and reputations.
That’s why I’ve become borderline obsessive about water damage prevention for apartments. If you work in property, it’s the smartest investment you can make.
Whether you’re a landlord, property manager, or live in an apartment yourself, the truth is simple: you can’t afford to ignore water damage prevention.
Apartments have a unique vulnerability. One leaky tap on the fifth floor? That can mean soaked ceilings on the fourth, waterlogged wiring on the third, and a very expensive insurance claim by the time it reaches the second.
In single-family homes, damage is usually contained. In apartments, water travels vertically—and quickly. The problem multiplies.
Every building has them. The key is finding them before they find you.
Start with these:
A quarterly inspection of these points takes less than an hour. But the damage from missing just one? That can run into tens of thousands.
Here’s where technology earns its keep.
Devices like leak detectors or automatic shut-off valves are no longer niche. They’re affordable, discreet, and potentially the difference between a quick fix and a five-figure renovation.
We’ve started using leak detection systems in all our high-risk areas. Under sinks, behind washing machines, near water heaters. They send alerts to your phone and shut off the water automatically. Peace of mind, on autopilot.
This one’s human, not high-tech.
Water issues often go unreported because tenants aren’t sure if it’s “worth mentioning.” Dripping tap? They’ll wait. Damp smell? They’ll ignore it. Until it becomes everyone’s problem.
We added a line to our welcome packets: If you see something, drip something. (It’s cheesy, but it works.) Make it clear that early reporting isn’t a nuisance—it’s a responsibility.
Reactive repairs are expensive. Scheduled checks are not.
Maintain a preventive calendar. Make sure it’s visible to your maintenance team and tied to actual tasks: checking pressure relief valves, inspecting pipes for corrosion, flushing water heaters. Small actions, big savings.
This sounds obvious, but you’d be amazed how often it’s missed.
Make sure every unit—and every tenant—knows where their water shut-off is. In an emergency, minutes matter. A laminated card by the entry, a walkthrough during move-in, a diagram in the resident portal—it’s simple, and it saves time when it matters most.
Water damage prevention for apartments isn’t glamorous. It’s not something tenants see or compliment. But it’s foundational. Invisible, like water itself—until it’s not.
From smart tech to smarter communication, taking water seriously saves money, protects property, and keeps everyone dry, safe, and happy. And in this business? That’s everything.
“A 1/8-inch crack in a pipe can release up to 250 gallons of water a day.”
That stat hit me the first time I read it. I imagined a slow drip, quiet and hidden, soaking into floorboards and insulation. Then I imagined the cost. The disruption. The calls to insurance. The frantic mopping.
If you live in or manage an apartment building, you already know the stakes. Water doesn’t respect walls or floors. A leak in one unit can trickle into three more. That means one small failure—one worn-out seal under a sink—can cause tens of thousands in damage.
So let’s talk about water leak detection for apartments. Not in vague terms, but in real, tangible strategies that you can use today. Because ignoring water leaks? That’s expensive. Preventing them? Much cheaper.
Apartments stack people—and their plumbing—on top of one another. When something goes wrong in one unit, it rarely stays there. A leaking toilet on the fourth floor can turn into mold in a third-floor ceiling, warped floors on the second, and a lawsuit from a tenant on the first. It’s a chain reaction.
What makes this even trickier is access. In single-family homes, the owner is responsible for everything. In apartments, responsibilities are shared. The landlord handles some plumbing. The tenant handles others. Add in contractors, plumbers, insurers—and suddenly, no one knows where the water’s coming from. Until it’s too late.
Here’s how I recommend approaching leak detection in apartments—whether you’re a property manager, maintenance lead, or resident who just doesn’t want their ceiling collapsing.
Start here. These devices are small, affordable, and powerful. Place them under sinks, behind toilets, near boilers, or anywhere there’s a water connection. Many models send alerts straight to your phone the moment moisture is detected.
Look for options that integrate with building management systems or come with shutoff valves. If a pipe bursts on a Sunday at 2 AM, you don’t want to wait until Monday to stop it.
This sounds obvious, but most leaks start small. A discolored patch of drywall, a musty smell, a subtle soft spot in the flooring—these are red flags. Train maintenance teams or residents to look for them, and to report anything suspicious immediately.
Even a 5-minute check under every sink during routine maintenance can save thousands.
Detection is only part of the battle. What happens when a leak is found? Who gets notified? What’s the procedure for shutting off water? Communicate these steps clearly to everyone involved—tenants, maintenance staff, property managers.
Response time is everything.
I’ve seen firsthand how chaotic a leak can get. Tenants displaced. Mold remediation teams in hazmat suits. Angry phone calls. All because a flexible hose behind a dishwasher cracked.
Water leak detection for apartments isn’t just a nice-to-have. It’s risk management. It’s tenant retention. It’s peace of mind.
And the good news? It’s easier than ever to put systems in place that detect and stop leaks before they turn into full-blown disasters.
So, the next time you hear that faint drip or get a whiff of mildew—act. Because silence doesn’t mean safety. It might just mean the water hasn’t broken through… yet.