
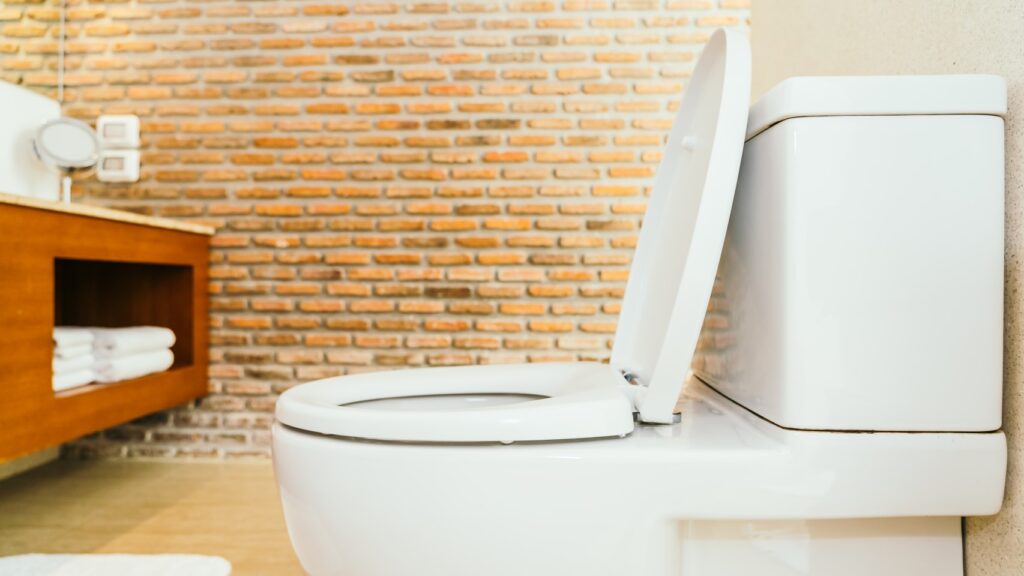
A single leaking toilet can waste up to 200 gallons of water a day. That’s not a typo. That’s one toilet, quietly draining your wallet and our shared water supply.
I learned this the hard way.
It started with a faint hissing sound. Barely noticeable. No puddles, no mess. But my water bill had crept up, and I couldn’t figure out why—until I discovered the leak.
Toilets are one of the most common sources of hidden water loss in both homes and commercial buildings. Yet many leaks go undetected for weeks, even months, simply because we expect leaks to look like dripping pipes or visible pools of water.
They often don’t.
In this post, I’ll walk you through exactly how I diagnosed and fixed my leaking toilet using simple water leak detection methods. Whether you’re a facilities manager, landlord, or just someone trying to reduce waste and cost—this guide is for you.
No fluff. Just clear, step-by-step insight that works.
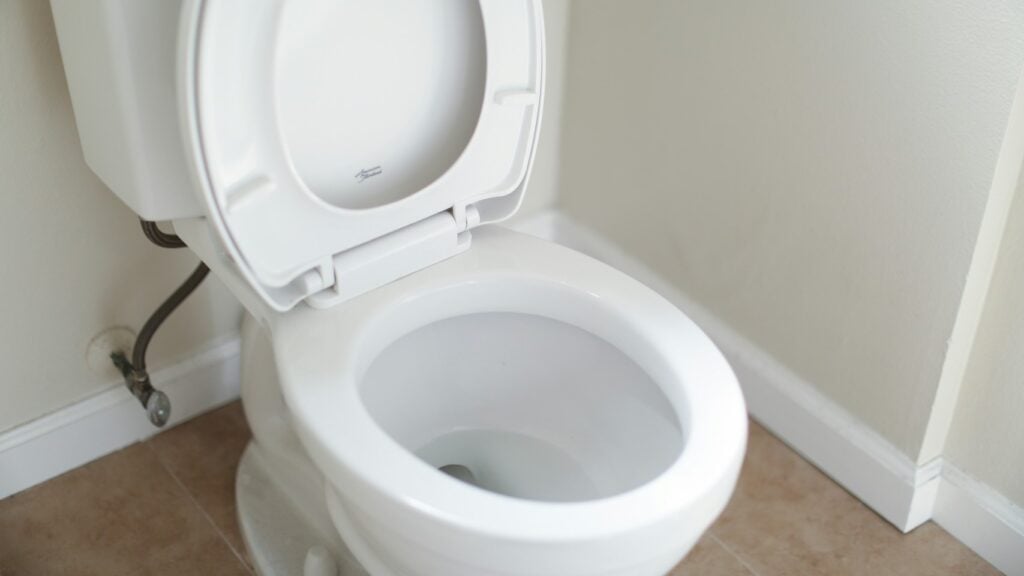
You don’t want to start replacing parts without confirming the issue. Here’s how to test your toilet for a leak quickly:
Still not sure if it’s the toilet?
Try this:
This test costs nothing. Takes minutes. And it works.
Most toilet leaks come from one of three places:
Here’s how to check:
Once you know where the leak is coming from, the next step isn’t always to dive into repairs—it’s to decide what kind of repair makes the most sense.
Here’s how I break it down:
If you’re managing multiple properties or commercial restrooms, standardizing the internal components with rebuild kits can streamline future toilet leak repair and reduce maintenance time.
It’s not always about fixing one part—it’s about fixing the right part, and sometimes, upgrading the whole mechanism gives you better long-term value.
Repeat the dye test after repairs. Check the meter again. Make sure the leak is gone.
If everything stays dry and quiet—you’re good.
Fixing a leaking toilet isn’t just about saving water (though that’s huge). It’s about taking control of something most people ignore. Silent leaks cost hundreds over time—and they’re fixable in less than an hour with the right approach.
No plumber. No drama.
Just a little awareness, the right tools, and a willingness to lift the tank lid.
And if you’re managing multiple units or a commercial facility? Water leak sensors and smart meters can alert you to leaks instantly—long before they drive up bills or damage property. That’s a conversation worth having, especially when planning long-term toilet leak repair strategies across multiple bathrooms.
Water doesn’t ask permission before it leaks. But you can decide what to do about it.
If you’ve got a toilet that’s whispering in the night, it’s time to listen—and fix it before it shouts on your bill.
A smart toilet leak repair today saves you water, money, and stress tomorrow.
“Water leaks waste nearly 1 trillion gallons of water each year in the U.S.”
But behind that waste is something more personal—homes destroyed, families displaced, and repair bills that can be brutal.
After a small leak in my attic turned into black mold, I got serious. I built a checklist. I found the weak spots. And I discovered reliable ways to stop water damage in your home—ones that don’t break the bank.
Here’s what I rely on now:
Basements are magnets for moisture. I sealed every crack in the floor and applied a waterproof membrane to the walls. It’s one of the best ways to stop water damage in your home, especially if you live in a flood-prone area.
My system monitors water flow. If it detects anything unusual—like a constant flow at 2 a.m.—it shuts everything off. That kind of control gives me real peace of mind. Plus, it’s one of the smartest ways to stop water damage in your home without babysitting it.
Clogged lines back up into ceilings and floors. I now flush mine every quarter with vinegar. It takes five minutes and can prevent hundreds in repairs.
Musty smells, peeling paint, swelling baseboards—don’t ignore them. I keep a checklist and inspect trouble spots once a month.
Label your shut-off valve. Keep your plumber’s number visible. Take photos for insurance. I’ve laminated my plan and stuck it in the kitchen cupboard.
Water damage is preventable. You just need the right tools, a little awareness, and a few routines. These ways to stop water damage in your home have saved me time, money, and stress. Now, I share them with every new homeowner I meet.

“One inch of water can cause more than $25,000 in damage.”
That’s not a hypothetical. It’s what my insurance adjuster told me—after my laundry room flooded.
Water damage doesn’t play fair. And when it hits, it hits fast. But here’s what I’ve learned: preventing water damage in your house is not about luck. It’s about planning.
Here’s how I approach it now:
Those rubber hoses behind your washing machine or dishwasher? They’re a liability. I replaced mine with braided stainless steel. If you’re serious about preventing water damage in your house, this is one of the simplest upgrades you can make.
High water pressure feels luxurious—until it cracks a pipe. I installed a water pressure regulator and dropped my PSI from 90 to 65. That little change helps in preventing water damage in your house long-term.
After every major storm, I give my roof a visual check—looking for lifted shingles, rusted flashing, and pooling water. Water gets in from the top down. Stay ahead of it.
I noticed small watermarks near my window frames. Turns out, poor sealing was the culprit. I used a simple caulk kit to fix it, and the problem disappeared.
My friend lost their entire basement to a power outage during a rainstorm. I learned from their mistake. Now I have a pump—and a backup system—ready to go.
Preventing water damage in your house isn’t complicated. But it does take vigilance. Every pipe, hose, and roofline is a potential point of failure. Get familiar with them. Stay one step ahead—and your home stays safe.
“Water damage accounts for nearly 24% of all homeowner insurance claims in the U.S.”
That’s not a statistic. That’s a warning. One I learned the hard way.
Water doesn’t always burst in like a broken dam. Most of the time, it starts with a drip. A slow leak. The kind that hides behind walls, under floorboards, or inside cabinets—until it’s too late. So I began learning how to stop water damage at home, and it changed everything.
Here’s what works—and what I now swear by:
Check under sinks, behind appliances, around toilets. I found a small leak under my kitchen sink that had been slowly warping the cabinet base. Catching it early saved me thousands. This is your first defense in learning how to stop water damage at home.
2. Install smart sensors
A small device under the water heater now sends alerts straight to my phone. It caught a slow leak I would’ve never noticed. If you want to know how to stop water damage at home with minimal effort, this is a no-brainer.
3. Gutter and landscape maintenance
Blocked gutters and poorly graded soil are top contributors to foundation water damage. I clean mine every three months and adjusted the slope of the soil to push water away from the house.
4. Know your main shut-off valve
Practice turning it off. Label it. Make sure your family knows where it is. When a pipe burst in my neighbor’s house, they lost 30 minutes trying to find it. That delay caused most of the damage.
5. Check appliance hoses
Fridge, dishwasher, washing machine—replace those old rubber hoses with stainless steel ones every five years. It’s a quick win.
Stopping water damage isn’t about expensive upgrades—it’s about knowing your house and staying ahead. Don’t wait until the damage is visible. Prevent it while it’s still invisible.
“Water damage is the second most common insurance claim filed by homeowners and renters—yet it’s the most preventable.” – Insurance Information Institute
When I first started managing apartment buildings, I assumed fire would be the thing to watch out for. I was wrong. It was water. Silent, creeping, relentless. Leaks don’t just ruin ceilings—they ruin budgets, relationships, and reputations.
That’s why I’ve become borderline obsessive about water damage prevention for apartments. If you work in property, it’s the smartest investment you can make.
Whether you’re a landlord, property manager, or live in an apartment yourself, the truth is simple: you can’t afford to ignore water damage prevention.
Apartments have a unique vulnerability. One leaky tap on the fifth floor? That can mean soaked ceilings on the fourth, waterlogged wiring on the third, and a very expensive insurance claim by the time it reaches the second.
In single-family homes, damage is usually contained. In apartments, water travels vertically—and quickly. The problem multiplies.
Every building has them. The key is finding them before they find you.
Start with these:
A quarterly inspection of these points takes less than an hour. But the damage from missing just one? That can run into tens of thousands.
Here’s where technology earns its keep.
Devices like leak detectors or automatic shut-off valves are no longer niche. They’re affordable, discreet, and potentially the difference between a quick fix and a five-figure renovation.
We’ve started using leak detection systems in all our high-risk areas. Under sinks, behind washing machines, near water heaters. They send alerts to your phone and shut off the water automatically. Peace of mind, on autopilot.
This one’s human, not high-tech.
Water issues often go unreported because tenants aren’t sure if it’s “worth mentioning.” Dripping tap? They’ll wait. Damp smell? They’ll ignore it. Until it becomes everyone’s problem.
We added a line to our welcome packets: If you see something, drip something. (It’s cheesy, but it works.) Make it clear that early reporting isn’t a nuisance—it’s a responsibility.
Reactive repairs are expensive. Scheduled checks are not.
Maintain a preventive calendar. Make sure it’s visible to your maintenance team and tied to actual tasks: checking pressure relief valves, inspecting pipes for corrosion, flushing water heaters. Small actions, big savings.
This sounds obvious, but you’d be amazed how often it’s missed.
Make sure every unit—and every tenant—knows where their water shut-off is. In an emergency, minutes matter. A laminated card by the entry, a walkthrough during move-in, a diagram in the resident portal—it’s simple, and it saves time when it matters most.
Water damage prevention for apartments isn’t glamorous. It’s not something tenants see or compliment. But it’s foundational. Invisible, like water itself—until it’s not.
From smart tech to smarter communication, taking water seriously saves money, protects property, and keeps everyone dry, safe, and happy. And in this business? That’s everything.