
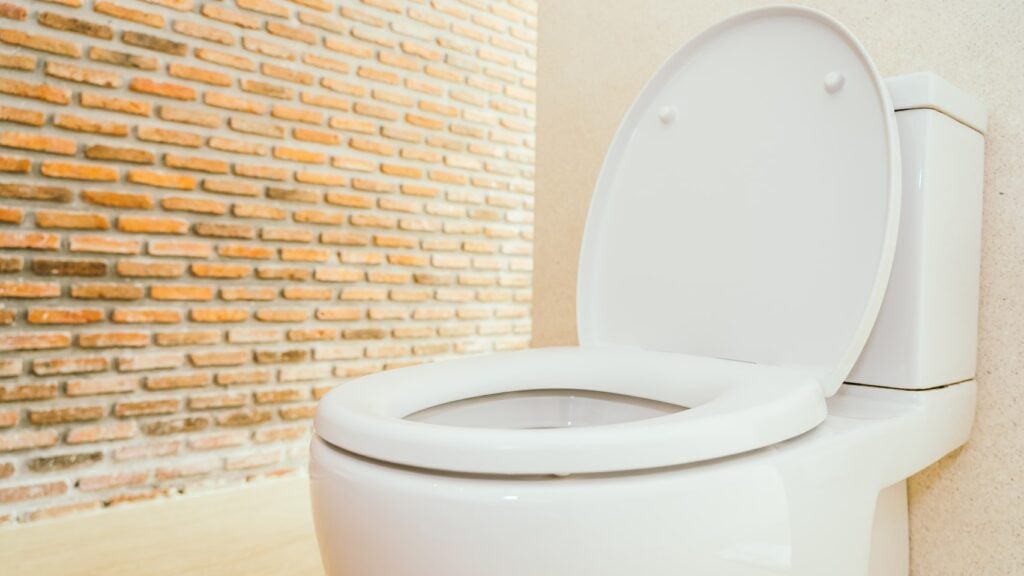
Now imagine your toilet is humming—literally making a low, vibrating noise—even when no one’s touched it for hours. That’s not normal. It’s your toilet whispering that something’s wrong. And if it’s humming, there’s a good chance it’s leaking too. The kind of leak that doesn’t just waste water—it slowly eats away at your water bill and, in some cases, your floors.
I’ve dealt with this. Many homeowners have. And here’s the kicker: fixing it is often faster and easier than people expect, especially when you use smart water leak detection tools to diagnose the problem accurately.
Let’s get into it—step by step.
That hum you hear? It’s usually the fill valve vibrating as water continuously flows or attempts to refill the tank due to a slow leak.
The most common causes:
Any of these can trigger the fill valve to engage sporadically or even constantly. That’s what creates the hum – and to stop toilet noise, you need to get to the root of it.
Before taking things apart, detect the leak. You can go analog or digital.
Manual method:
Smart method:
Install a smart leak detector like the aquaHALT. This device monitor real-time water usage and can alert you the moment unusual flow is detected. If your toilet is humming and using water when no one’s home, you’ll know right away.
This isn’t just tech for tech’s sake. It gives you data, fast. And it can prevent hundreds—sometimes thousands—of dollars in damage.
Once you confirm the leak, here’s how to tackle the common culprits:
1. Replace the Flapper
This is the rubber seal at the bottom of the tank.
2. Adjust or Replace the Fill Valve
If the humming continues after replacing the flapper, the fill valve may be the issue.
3. Check Water Pressure
Sometimes, excessive water pressure (above 80 psi) can cause the fill valve to vibrate.
These quick steps will help stop toilet noise at its source—without needing a plumber for most situations.
Once repairs are done, test the system:
A humming toilet isn’t just annoying—it’s a warning. And every minute it goes unchecked could mean more wasted water, higher bills, and even structural damage if leaks spread.
But here’s the good news: with a basic understanding of how your toilet works, some simple parts, and smart leak detection, you can handle this like a pro. In under an hour. With real savings to show for it.
That hum? Now it’s gone. Just silence—and a little peace of mind.
“Water damage claims are the second most frequent insurance claim in the world.” — Zurich Insurance
Let that sink in for a second. Water damage doesn’t just make up a slice of the pie—it’s one of the biggest Let’s talk numbers: water damage accounts for billions in property losses every year. It’s one of the most common—and costly—types of insurance claims globally. And most of it? Completely preventable.
That’s the power of early water leak detection.
I’ve been on properties where a small, undetected leak had been seeping for months. The damage was slow, subtle, and expensive—warped flooring, rotting drywall, mold in the ceiling cavities. The worst part? The owner had no idea until the ceiling collapsed.
With early water leak detection, you can stop that nightmare before it starts.
Here’s how it works: smart sensors are placed in high-risk zones—under sinks, near boilers, around dishwashers, and in utility rooms. If the device detects moisture or a sudden change in temperature, it sends an alert to your phone or building management system. Some systems go even further with automatic shutoff valves that close the water supply instantly, limiting any potential damage.
For landlords, facility managers, or developers, early water leak detection should be standard. The cost of installing these devices is minimal compared to the thousands (or tens of thousands) in repairs they help avoid.
But it’s not just about saving money. It’s about protecting health. Undetected leaks can lead to mold growth, which puts occupants at risk and can complicate compliance issues. I’ve worked with clients who had to relocate tenants for weeks because of mold remediation.
The good news? The technology is better and more accessible than ever.
Key Takeaways:
Early water leak detection isn’t a luxury. It’s a frontline defense—and it’s one of the smartest investments you can make for any property.
“An average household leak can waste nearly 10,000 gallons of water per year.” — EPA
It started with a ceiling stain. Nothing major. A light brown ring, the kind you think you’ll get to when you have time. But behind that ring was a slow, silent drip—and a month later, we were ripping out insulation, replacing drywall, and calculating costs in the thousands.
That’s when I stopped relying on my eyes and ears alone.
Smart water leak detection tools have changed the game. These aren’t futuristic gadgets anymore—they’re practical, proven, and affordable solutions for homeowners and building managers alike. From sensors that alert your phone the moment a pipe leaks, to shutoff valves that stop the flow before things get out of hand—these tools buy you time. And time is everything when water is trying to ruin your space.
Here’s where to start: place smart sensors under sinks, next to your water heater, and behind dishwashers or washing machines. These are the usual suspects for slow, unnoticed leaks. Over time, even a minor drip can destroy wood, flooring, or insulation. With smart water leak detection tools, you catch these problems before they become disasters.
If you’re managing multiple properties or commercial buildings, consider investing in a connected system with central reporting. That way, you or your maintenance team can get alerts instantly and respond before any serious damage occurs. Some systems even tie directly into building automation platforms or come with automatic shut-off valves for total control.
I’ve learned this lesson the hard way—waiting until something goes visibly wrong is too late. Water damage doesn’t show up until it’s already done its work.
Smart water leak detection tools don’t just save water. They save walls, floors, reputations, and thousands in repairs.
Key Takeaways:
You can’t control everything—but you can control this. And you should. pressure off you.
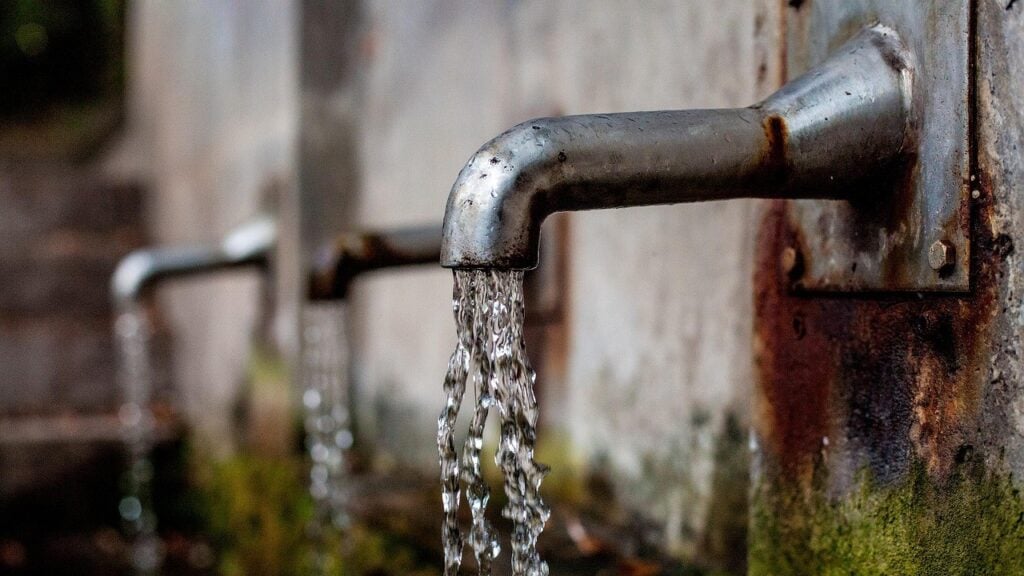
“Water leaks waste nearly 1 trillion gallons of water each year in the U.S.”
But behind that waste is something more personal—homes destroyed, families displaced, and repair bills that can be brutal.
After a small leak in my attic turned into black mold, I got serious. I built a checklist. I found the weak spots. And I discovered reliable ways to stop water damage in your home—ones that don’t break the bank.
Here’s what I rely on now:
Basements are magnets for moisture. I sealed every crack in the floor and applied a waterproof membrane to the walls. It’s one of the best ways to stop water damage in your home, especially if you live in a flood-prone area.
My system monitors water flow. If it detects anything unusual—like a constant flow at 2 a.m.—it shuts everything off. That kind of control gives me real peace of mind. Plus, it’s one of the smartest ways to stop water damage in your home without babysitting it.
Clogged lines back up into ceilings and floors. I now flush mine every quarter with vinegar. It takes five minutes and can prevent hundreds in repairs.
Musty smells, peeling paint, swelling baseboards—don’t ignore them. I keep a checklist and inspect trouble spots once a month.
Label your shut-off valve. Keep your plumber’s number visible. Take photos for insurance. I’ve laminated my plan and stuck it in the kitchen cupboard.
Water damage is preventable. You just need the right tools, a little awareness, and a few routines. These ways to stop water damage in your home have saved me time, money, and stress. Now, I share them with every new homeowner I meet.

“One inch of water can cause more than $25,000 in damage.”
That’s not a hypothetical. It’s what my insurance adjuster told me—after my laundry room flooded.
Water damage doesn’t play fair. And when it hits, it hits fast. But here’s what I’ve learned: preventing water damage in your house is not about luck. It’s about planning.
Here’s how I approach it now:
Those rubber hoses behind your washing machine or dishwasher? They’re a liability. I replaced mine with braided stainless steel. If you’re serious about preventing water damage in your house, this is one of the simplest upgrades you can make.
High water pressure feels luxurious—until it cracks a pipe. I installed a water pressure regulator and dropped my PSI from 90 to 65. That little change helps in preventing water damage in your house long-term.
After every major storm, I give my roof a visual check—looking for lifted shingles, rusted flashing, and pooling water. Water gets in from the top down. Stay ahead of it.
I noticed small watermarks near my window frames. Turns out, poor sealing was the culprit. I used a simple caulk kit to fix it, and the problem disappeared.
My friend lost their entire basement to a power outage during a rainstorm. I learned from their mistake. Now I have a pump—and a backup system—ready to go.
Preventing water damage in your house isn’t complicated. But it does take vigilance. Every pipe, hose, and roofline is a potential point of failure. Get familiar with them. Stay one step ahead—and your home stays safe.