
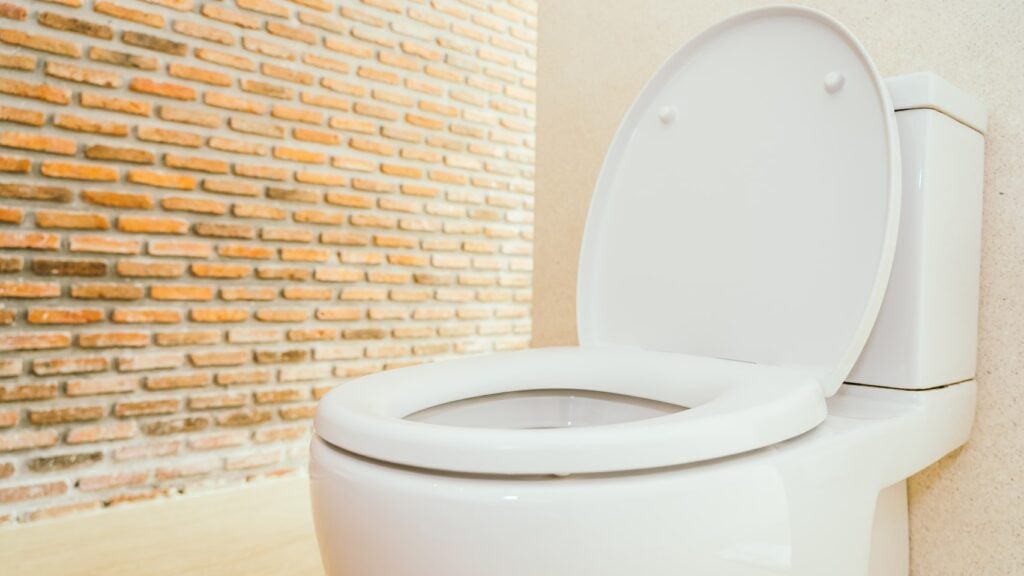
Now imagine your toilet is humming—literally making a low, vibrating noise—even when no one’s touched it for hours. That’s not normal. It’s your toilet whispering that something’s wrong. And if it’s humming, there’s a good chance it’s leaking too. The kind of leak that doesn’t just waste water—it slowly eats away at your water bill and, in some cases, your floors.
I’ve dealt with this. Many homeowners have. And here’s the kicker: fixing it is often faster and easier than people expect, especially when you use smart water leak detection tools to diagnose the problem accurately.
Let’s get into it—step by step.
That hum you hear? It’s usually the fill valve vibrating as water continuously flows or attempts to refill the tank due to a slow leak.
The most common causes:
Any of these can trigger the fill valve to engage sporadically or even constantly. That’s what creates the hum – and to stop toilet noise, you need to get to the root of it.
Before taking things apart, detect the leak. You can go analog or digital.
Manual method:
Smart method:
Install a smart leak detector like the aquaHALT. This device monitor real-time water usage and can alert you the moment unusual flow is detected. If your toilet is humming and using water when no one’s home, you’ll know right away.
This isn’t just tech for tech’s sake. It gives you data, fast. And it can prevent hundreds—sometimes thousands—of dollars in damage.
Once you confirm the leak, here’s how to tackle the common culprits:
1. Replace the Flapper
This is the rubber seal at the bottom of the tank.
2. Adjust or Replace the Fill Valve
If the humming continues after replacing the flapper, the fill valve may be the issue.
3. Check Water Pressure
Sometimes, excessive water pressure (above 80 psi) can cause the fill valve to vibrate.
These quick steps will help stop toilet noise at its source—without needing a plumber for most situations.
Once repairs are done, test the system:
A humming toilet isn’t just annoying—it’s a warning. And every minute it goes unchecked could mean more wasted water, higher bills, and even structural damage if leaks spread.
But here’s the good news: with a basic understanding of how your toilet works, some simple parts, and smart leak detection, you can handle this like a pro. In under an hour. With real savings to show for it.
That hum? Now it’s gone. Just silence—and a little peace of mind.
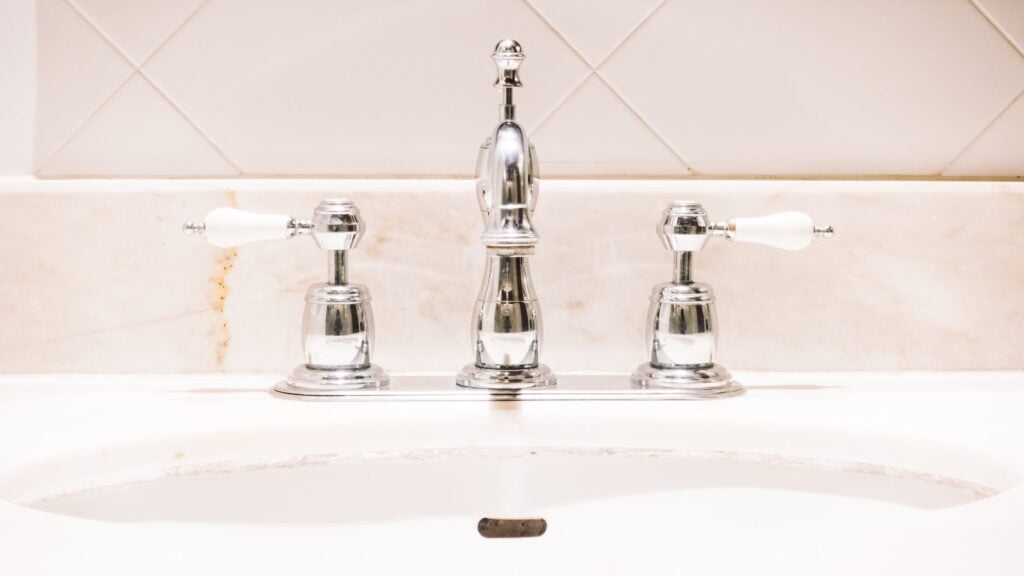
“Heated water lines: twice the potential leak, twice the headache.” I read that, and thought: “Exactly.” Every sink—mine included—has hot and cold lines. Two points of failure. Then I filed away the aquaHALT H/C. One valve. Both lines. Instant comfort.
Why aquaHALT H/C Works for Me
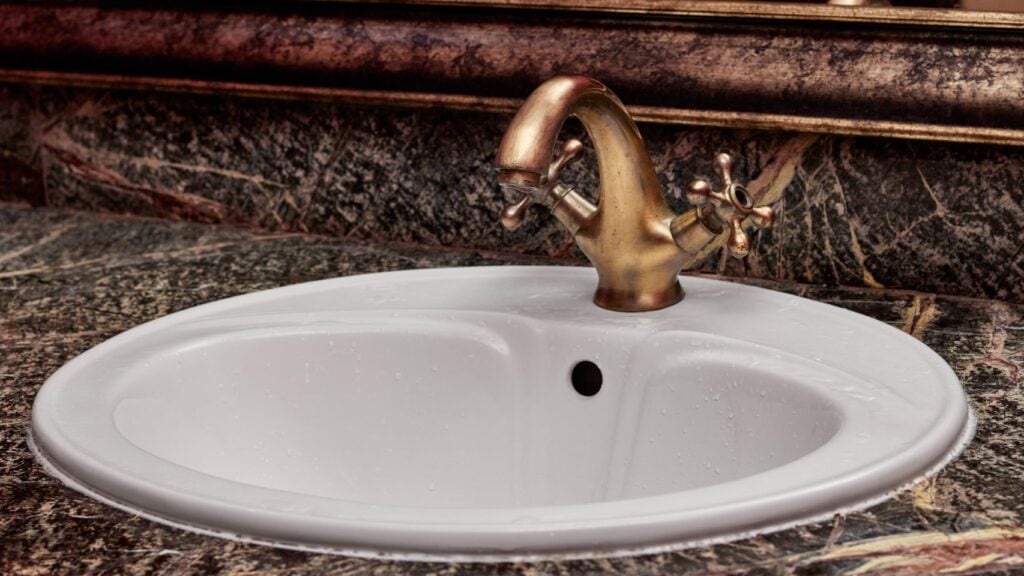
Forget chaotic setups. This device takes hot and cold feeds in a clean, single unit. Battery powered. Install in minutes. And then it does its job—quietly, reliably—for up to 15 years. That’s what I expect from a true sink leak detection system.
Easy to Install
The aquaHALT H/C impressed me because it solved two problems with one solution. Most sinks have both hot and cold feeds, which often means double the risk and double the equipment. With this sink leak detection system, I only needed a single device for total coverage. That kept installation simple and cost lower. More importantly, it cut down on points of failure. If you’ve ever had a hot water leak in a cabinet, you know how much steam and heat damage it can cause compared to cold water. This unit neutralizes both risks, instantly and effectively.
Key Benefits
My Experience
Once I had it in, I actually forgot it was there. Until I ran a test and it shut off instantly. That’s when it clicked for me: real protection doesn’t need my attention. It just needs to work. And that’s the promise of a reliable sink leak detection system.
If you’ve secured your toilets, don’t stop there. Sink lines matter, too. The H/C is elegant. Compact. Protective. And in my book—that makes it essential.
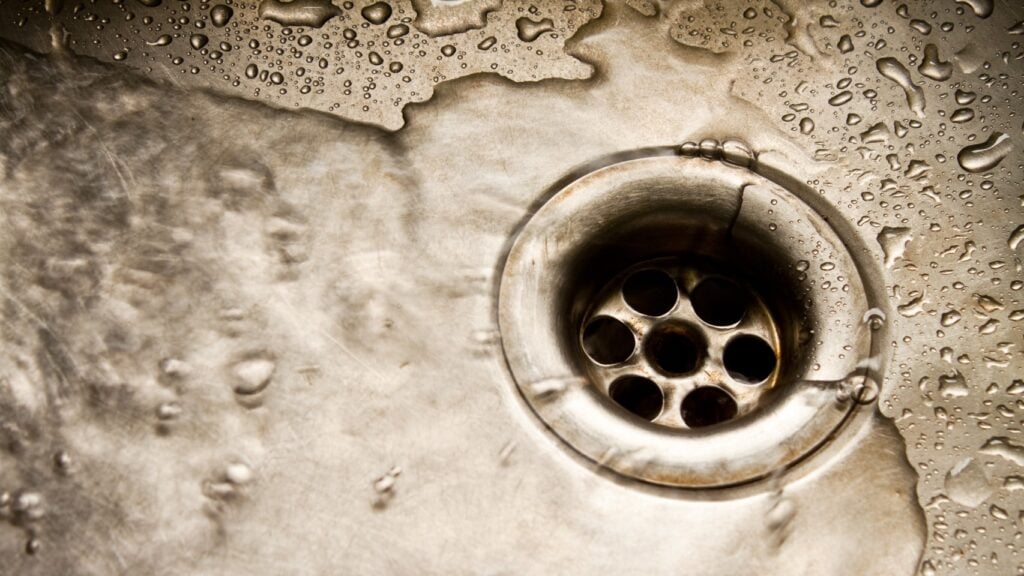
“Nearly 30% of home water-damage claims trace back to the kitchen—especially sneaky ice-maker leaks.” That blew me away. If that includes you, I want to help. I started using aquaHALT ICE under the sink, and it’s like having an invisible lifeguard for your home’s plumbing.
What Makes aquaHALT ICE Essential
It integrates with existing ¼” plumbing like it was born there. Battery powered. Auto-shut-off. No wiring. Just sit it in line, slip in batteries, and it guards for years. It’s the definition of ice maker leak detection—simple, silent, but incredibly effective.
Installation in Three Steps
Here’s the truth: not all leaks are dramatic floods. Sometimes it’s a slow, invisible drip that causes the most expensive damage. That’s why having an ice maker leak detection device like aquaHALT ICE is so important. It reacts to both sudden bursts and subtle leaks. I tested mine by letting a slow drip run into the line—it shut the supply immediately. That kind of sensitivity means I don’t have to worry about warped hardwood, swollen cabinets, or hidden mold. Whether you live in an apartment, a suburban home, or manage a small office, this protection pays for itself quickly.
Leaks under the fridge aren’t easy to spot. Flooring, subflooring—they silently soak. Then comes the soaring repair bill. A smart ice maker leak detection solution stops that before it happens.
In my office, I paired it with aquaHALT H/C for the sink and coffee machine line. It’s not just about leisure. It’s about business continuity. One drip here, one blob there—and suddenly your breakroom’s out of service. That’s why I see ice maker leak detection as non-negotiable.
I love that I can install it in under 15 minutes, then forget it—until it saves me thousands. In kitchens, homes, offices—this tiny defender isn’t flashy. But it works. And that matters.

“More than 1.2 million homes face costly water damage each year—often from leaky toilet valves.” That figure stopped me cold the first time I read it. I’m sharing this because I care. You want smart protection, not just warnings. That’s why I turned to the aquaHALT 2X. Compact. Trusty. A leak-terminating sentinel. You’ll see how a small device can make a big difference.
Why I Choose aquaHALT 2X
Installing water protection used to sound intimidating. Not anymore. The aquaHALT 2X slots neatly behind your toilet, connects with two 3/8″ hoses, and uses 2 AA batteries—no electrician, no plumber, no fuss. It’s essentially a toilet leak detection system that anyone can install themselves.
Step-by-Step Setup
What I like most about the aquaHALT 2X is that it blends security with simplicity. Unlike complicated systems that require Wi-Fi or apps, this device is completely independent. That means even in a power outage, your toilet leak detection system is still actively protecting your bathroom. It’s not about fancy dashboards—it’s about doing the job when you need it most. Think of it as insurance that never takes a day off. For homeowners, landlords, or property managers, that’s the kind of stability worth investing in. Reliable, invisible, and always working in the background.
Leaky toilets aren’t just a drip—they’re hidden disasters. Floors warp, cabinets rot, claims skyrocket. With a toilet leak detection system in place, you get peace of mind that those silent leaks never spiral into damage.
I installed one in my rental property. No more late-night worry or frantic calls. My tenants asked about maintenance once. The answer? “Nothing to do. It’s set and forgotten.” That kind of passive protection—keeping damage at bay—is what real value looks like. For me, the aquaHALT 2X isn’t just hardware. It’s the toilet leak detection system that keeps me covered.
“Over 1.2 million homes suffer costly water damage every year—for something as simple as a leaking toilet valve.” That’s not just annoying; it’s expensive, messy, and totally preventable. I’m not here to throw jargon your way. I’m here to help you take control—with a product that tucks away neatly behind your toilet, lets you grab it easily when you need to, and literally stops leaks at the source. Let’s get you water-smart.
What I really like about the aquaHALT 2X is that it’s discreet but dependable. It doesn’t take up space, doesn’t add clutter, and doesn’t require constant checking. Once installed, it quietly stands guard. Many homeowners underestimate how quickly a small toilet leak can escalate into warped flooring or structural damage. By choosing a toilet water leak prevention system like this, you’re essentially buying long-term security that pays for itself many times over. It’s not just about preventing water on the floor—it’s about protecting everything connected to your home’s foundation and comfort.
If your bathroom is protected, don’t forget the kitchen—check out my guide on the aquaHALT ICE for refrigerators.
Fast. Smart. Held-back. That’s what aquaHALT 2X does—and why I’d install one on every toilet in my house. If you’re serious about protecting your home, this is the toilet water leak prevention system you need.