

“Water damage is five times more likely than theft, and six times more likely than fire in your home.”
— Insurance Institute for Business & Home Safety
Let that sit for a moment.
When we talk about protecting our homes, we usually think alarms. Cameras. Deadbolts. But most people overlook one of the most common, most expensive threats hiding right under their sinks and inside their walls: water leaks.
I did too—until a pinhole leak under a bathroom vanity caused $4,300 in repairs. And most of that wasn’t even covered.
So here’s the thing: DIY water leak protection isn’t just a smart idea. It’s essential. And you don’t need to be an expert or spend a fortune to do it.
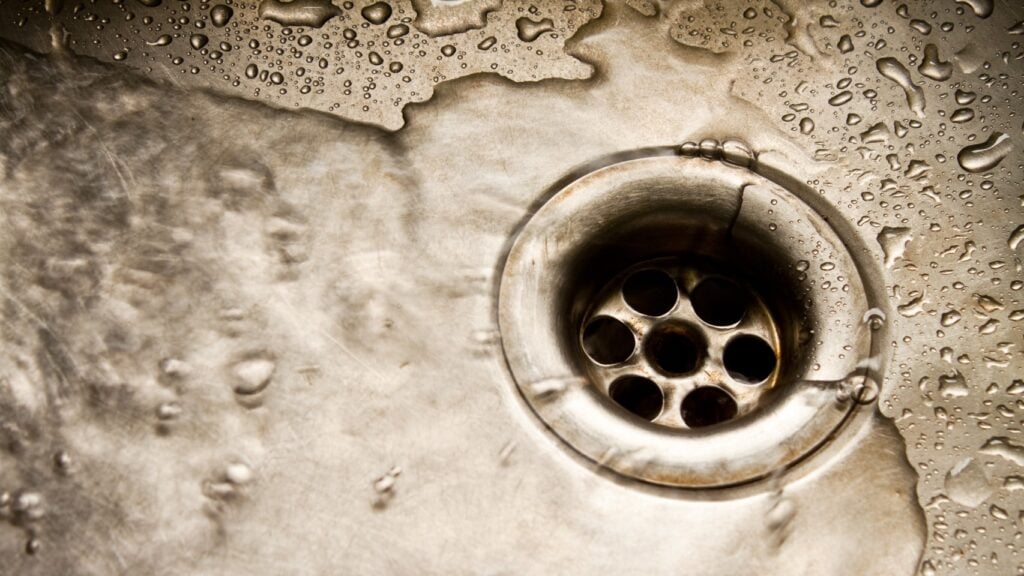
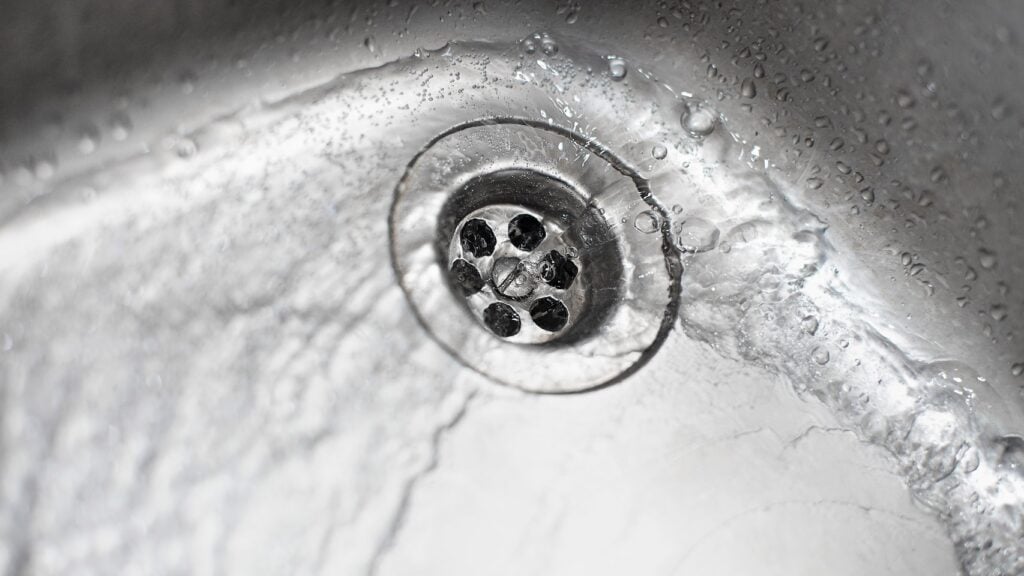
Start with the riskiest zones: under sinks, behind toilets, near your water heater, laundry machines, and anywhere plumbing disappears into the wall.
Buy a few smart leak sensors—the kind that connect to your phone via Wi-Fi. Some even shut off your water automatically when a leak is detected. I use the kind that also measures humidity and temperature changes, which gives early warning of potential mold risk too.
Pro Tip: Choose sensors with a loud audible alert and smartphone notifications. That way, you catch it whether you’re home or not.
Smart sensors are great—but don’t forget the basement, garage, and crawlspaces. Sometimes you don’t need anything fancy.
Basic battery-powered water alarms are about $10. Put one near your sump pump, water softener, or any low-traffic pipe junction. They scream when water is detected—enough to make you run.
It’s simple, old-school, and it works.
Here’s the big one. If you’re doing any renovation—or you’re just tired of worrying—install a whole-home automatic shutoff valve. These devices monitor water flow and detect anomalies like burst pipes or slow drips.
If something’s wrong, they shut the water off at the main. No drama. No floods.
Yes, this is more involved. Yes, it may require a plumber. But if you’ve already had one leak—or live in an older home—this is your peace-of-mind button.
And it’s the most powerful move in the DIY water leak protection playbook.
Here’s what I do every quarter, without fail:
Leaks don’t usually explode. They whisper. And if you listen early, you save big.
Water doesn’t care how new your house is. Or how careful you are. But with a little planning—and some smart, cost-effective tools—you can stop a disaster before it starts.
So take an hour this weekend. Walk through your home. Drop in a sensor. Set up a reminder. You’ll sleep better.
And you’ll have taken the most important step in DIY water leak protection: not waiting until it’s too late.
“Over 1.2 million homes suffer costly water damage every year—for something as simple as a leaking toilet valve.” That’s not just annoying; it’s expensive, messy, and totally preventable. I’m not here to throw jargon your way. I’m here to help you take control—with a product that tucks away neatly behind your toilet, lets you grab it easily when you need to, and literally stops leaks at the source. Let’s get you water-smart.
What I really like about the aquaHALT 2X is that it’s discreet but dependable. It doesn’t take up space, doesn’t add clutter, and doesn’t require constant checking. Once installed, it quietly stands guard. Many homeowners underestimate how quickly a small toilet leak can escalate into warped flooring or structural damage. By choosing a toilet water leak prevention system like this, you’re essentially buying long-term security that pays for itself many times over. It’s not just about preventing water on the floor—it’s about protecting everything connected to your home’s foundation and comfort.
If your bathroom is protected, don’t forget the kitchen—check out my guide on the aquaHALT ICE for refrigerators.
Fast. Smart. Held-back. That’s what aquaHALT 2X does—and why I’d install one on every toilet in my house. If you’re serious about protecting your home, this is the toilet water leak prevention system you need.
“Kitchen leaks account for nearly 30% of all home water damage claims.” Out of every ten tricky leaks, three trace back to a refrigerator ice maker. That’s one statistic that practically begs for a fix. So I added an aquaHALT ICE “Kitchen leaks account for nearly 30% of all home water damage claims.” Out of every ten tricky leaks, three trace back to a refrigerator ice maker. That’s one statistic that practically begs for a fix. So I added an aquaHALT ICE under the sink—easy. Effective. Instant peace of mind.
Most of us don’t even notice a leak from the ice maker until it’s already caused serious damage. Water can seep under cabinets, flooring, or even into the subfloor before you spot it. That’s why an ice maker leak protection system like aquaHALT ICE is such a game changer. It doesn’t rely on your vigilance—it acts instantly, whether you’re home or not. For busy households or rental properties, it’s a way to stop hidden risks from turning into expensive disasters, all with a device that you can install in under 15 minutes.
Protecting your kitchen is a must, but don’t overlook the sink. Learn how the aquaHALT H/C protects both hot and cold lines.
Installing aquaHALT ICE is like adding a silent guardian under your sink. If you value your home, the smartest move you can make is adding an ice maker leak protection system where it matters most.
“Heated water lines: twice the potential leak, twice the headache.” If that sounds like your kitchen sink—or mine—you’re not wrong. Two valves, two hoses, double the worry. Then I found the aquaHALT H/C: a smart valve that splits hot and cold, stands watch, and shuts things down at the first drip.
The under-sink area is one of the most common spots for leaks, yet it’s also one of the least monitored. By using a sink water leak detection device like aquaHALT H/C, you’re getting coverage where it matters most. Hot and cold lines often wear unevenly, meaning either one could burst without warning. This system not only covers both but does so with one compact solution. For me, that’s simplicity and peace of mind rolled into one. It’s the type of upgrade you install once, then forget—until the day it saves you thousands.
Finished protecting your sink? Be sure to also install the aquaHALT 2X for your toilets to complete whole-home coverage.
The aquaHALT H/C is more than just another gadget. It’s a sink water leak detection device that gives you confidence every time you turn on the tap. Smart. Clean. Reliable.
“Water damage claims cost homeowners an average of $11,000 each.” That figure made me rethink how I protect my home. I used to believe a strong insurance policy was enough. But then I realized prevention is not only cheaper — it’s far less stressful. That’s when I invested in an automatic water shut off valve.
I’ll be honest — I was hesitant at first. Another gadget? More plumbing work? But this wasn’t a gimmick. This was a smart, silent guardian for my water system. I installed mine near the main water line. Here’s how I use it.
First, I connected it to my home’s Wi-Fi. This allows me to monitor and control the system from anywhere. If the sensor detects an unusual flow — like a hidden leak under the floor — the valve shuts the water off automatically. No delay. No panic.
I also set alerts on my phone. Now, if I’m away for the weekend and a pipe bursts, I get an instant notification. I can even override the system remotely. That’s peace of mind I didn’t have before.
Maintenance is simple. I test it every three months by simulating a leak (a controlled trickle from a spare tap). The valve reacts instantly. This keeps the mechanism responsive and reliable.
For me, an automatic water shut off valve isn’t about avoiding repair bills — though it does that. It’s about controlling the uncontrollable. A burst pipe at 3 a.m. is now a minor inconvenience, not a major disaster.