
“Water damage is five times more likely than theft, and six times more likely than fire in your home.”
— Insurance Institute for Business & Home Safety
Let that sit for a moment.
When we talk about protecting our homes, we usually think alarms. Cameras. Deadbolts. But most people overlook one of the most common, most expensive threats hiding right under their sinks and inside their walls: water leaks.
I did too—until a pinhole leak under a bathroom vanity caused $4,300 in repairs. And most of that wasn’t even covered.
So here’s the thing: DIY water leak protection isn’t just a smart idea. It’s essential. And you don’t need to be an expert or spend a fortune to do it.
Start with the riskiest zones: under sinks, behind toilets, near your water heater, laundry machines, and anywhere plumbing disappears into the wall.
Buy a few smart leak sensors—the kind that connect to your phone via Wi-Fi. Some even shut off your water automatically when a leak is detected. I use the kind that also measures humidity and temperature changes, which gives early warning of potential mold risk too.
Pro Tip: Choose sensors with a loud audible alert and smartphone notifications. That way, you catch it whether you’re home or not.
Smart sensors are great—but don’t forget the basement, garage, and crawlspaces. Sometimes you don’t need anything fancy.
Basic battery-powered water alarms are about $10. Put one near your sump pump, water softener, or any low-traffic pipe junction. They scream when water is detected—enough to make you run.
It’s simple, old-school, and it works.
Here’s the big one. If you’re doing any renovation—or you’re just tired of worrying—install a whole-home automatic shutoff valve. These devices monitor water flow and detect anomalies like burst pipes or slow drips.
If something’s wrong, they shut the water off at the main. No drama. No floods.
Yes, this is more involved. Yes, it may require a plumber. But if you’ve already had one leak—or live in an older home—this is your peace-of-mind button.
And it’s the most powerful move in the DIY water leak protection playbook.
Here’s what I do every quarter, without fail:
Leaks don’t usually explode. They whisper. And if you listen early, you save big.
Water doesn’t care how new your house is. Or how careful you are. But with a little planning—and some smart, cost-effective tools—you can stop a disaster before it starts.
So take an hour this weekend. Walk through your home. Drop in a sensor. Set up a reminder. You’ll sleep better.
And you’ll have taken the most important step in DIY water leak protection: not waiting until it’s too late.
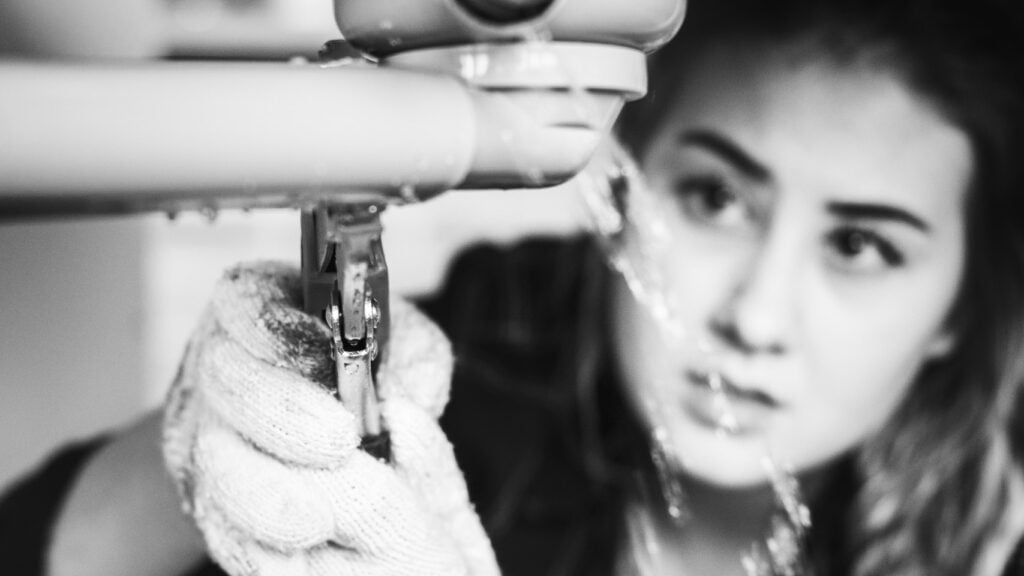
As temperatures drop, plumbing systems across the country come under stress in ways most homeowners never notice — until a leak becomes a flood.
According to the Insurance Information Institute (2024), winter freeze-related plumbing failures are among the top three causes of water damage claims, costing US homeowners over $11,000 per incident on average. And in regions with extended cold snaps, the financial toll is even higher.
The challenge is that many winter-related leaks are:
Slow and silent
Hidden behind walls, outdoors, or in crawlspaces
Completely preventable with the right preparation
From frozen interior pipes up north to split hosebibs in warmer states, winter reveals vulnerabilities that otherwise stay dormant all year.
This guide walks you through:
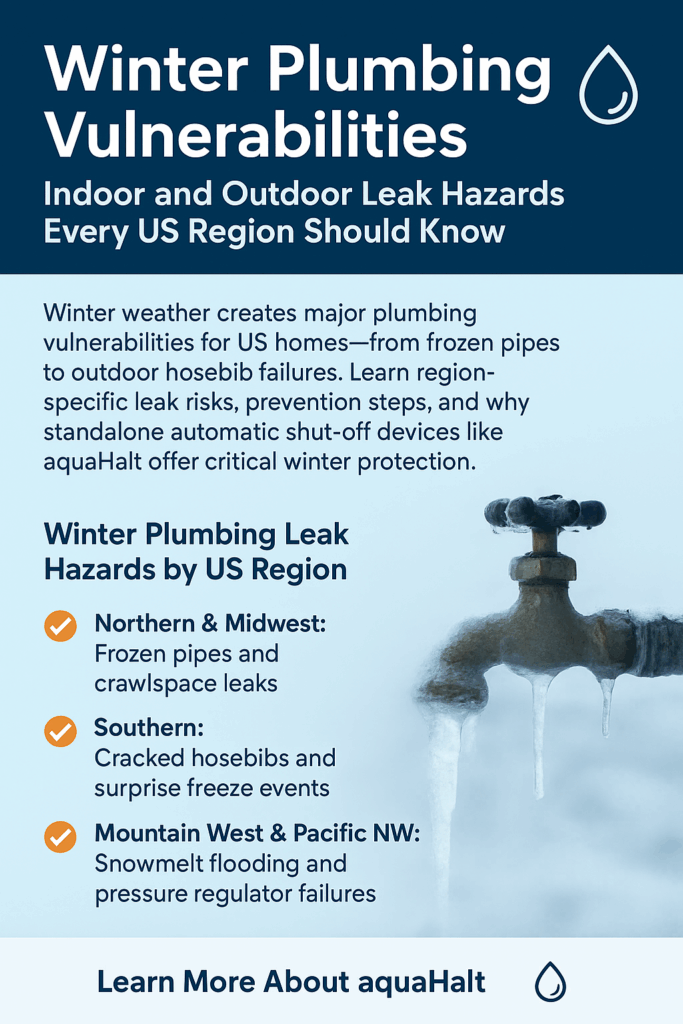
✔ Region-specific winter plumbing risks
✔ Indoor and outdoor leak hazards
✔ Practical prevention steps
✔ How automatic shutoff devices like aquaHalt protect your home — even during power and internet outages
Winter doesn’t strike every region the same way. Here’s what homeowners across the country should prepare for.
Typical states: MN, WI, MI, IL, OH, PA, NY, VT, ND, SD, MA, ME
Extended freezes and sudden temperature drops make these areas especially vulnerable to:
High-risk locations include:
Uninsulated basements
Exterior-facing walls
Garages
Attics
When water freezes, it expands — and the pressure can rupture copper, PEX, and PVC lines with ease.
In winter, furnace-attached humidifiers often drip due to:
Cracked valves
Loose fittings
Clogged drain tubes
These leaks often go unnoticed for weeks.
Add insulation sleeves to exposed pipes
Leave cabinet doors open during severe cold snaps
Disconnect and drain humidifier lines during maintenance
Place aquaHalt units under sinks, toilets, and fridge lines for automatic shutoff protection
Why aquaHalt matters here:
If a pipe bursts at 2 AM in a crawlspace or basement, aquaHalt detects the leak instantly and shuts off water at the source — no Wi-Fi, no power, no app needed.
Typical states: TX, LA, GA, SC, AL, MS, OK, AZ
Southern homes are built for heat, not cold. That’s why unexpected freezes — such as the Texas 2021 event — cause massive water damage.
Common vulnerabilities:
Non-insulated hosebibs
Exposed PVC irrigation lines
Outdoor laundry hookups
A single overnight freeze can split a spigot or crack a line behind the wall.
Many homes place water heaters, softeners, or washing machines in outdoor closets — making them highly vulnerable.
Install hosebib covers
Insulate outdoor utility closets
Drain irrigation systems
Place aquaHalt units in exterior laundry closets and washing machine hookups
Why aquaHalt matters here:
Outdoor utility closets freeze faster than indoor rooms. aquaHalt’s automatic shutoff prevents flooding even if you’re away.
Typical states: CO, UT, WY, ID, WA, OR, MT
This region’s temperature swings between freezing nights and warmer days create constant plumbing stress.
Pipes expand at night, contract during the day — a cycle that weakens plumbing over time.
Cold snaps can crack regulator valves, triggering:
Leaks at the main
Appliance hose bursts
Sudden surges in pressure
Basements and crawlspaces often take on water during late-winter melts.
Insulate all exterior piping
Test pressure regulators annually
Keep sump pumps clear
Add aquaHalt sensors to basements and under sinks
Even homes in warm climates experience winter-related plumbing issues:
Cold weather stiffens supply lines, increasing the chance of cracks.
Small drips go unnoticed more easily during winter months.
Winter strain increases the risk of tank failure and valve leaks.
Drain tubes work harder in winter — and clog more often.
Prevention:
Install aquaHalt units at high-risk indoor locations: kitchens, bathrooms, laundry rooms, and near water heaters.
These should be checked immediately:
Outdoor hosebibs
Irrigation/sprinkler systems
Pool equipment
Exterior laundry hookups
Water softener sheds
RV/auxiliary connections
Even a minor winter leak can freeze, expand, and rupture — causing severe structural damage.
Kitchen sinks
Bathroom sinks
Behind toilets
Laundry machines
Water heaters
Furnace humidifiers
Hosebibs
Exterior utility closets
Crawlspace entry points
Softener sheds
Why aquaHalt is ideal for winter:
If the internet drops, the power goes out, or a freeze shuts down your router — aquaHalt continues working, sounding a local alarm and shutting off water instantly.
Winter plumbing failures are expensive, disruptive, and often invisible until the damage is extensive. But with the right preparation — and the right protection — they’re far easier to prevent than repair.
Insulate exposed pipes
Cover and drain hosebibs
Inspect appliance supply lines
Check furnace humidifier tubing
Install automatic shutoff devices like aquaHalt
If you want a leak protection system that works even during:
✔ Power outages
✔ Internet outages
✔ Router failures
✔ Severe freeze events
Then aquaHalt offers the reliability you need — fully standalone, fully automatic, with a local alarm and immediate shutoff.
For years, homeowners have trusted simple float switches and drip sensors to warn them of water leaks. These devices were better than nothing — until you realize their biggest flaw: they only alert you after water has already escaped.
According to the Insurance Information Institute (2024), the average water-damage claim in the United States exceeds $11,000 per incident, with burst hoses, leaking valves, and failed water heaters among the most common causes.
The problem is simple — traditional alarms can’t act, they can only react.
Traditional leak detectors often:
⚠️ Alert you after the damage begins
🔌 Rely on power or Wi-Fi, losing function during outages
🧍♂️ Require manual intervention to shut off the water
So even though they “work,” they don’t truly protect.
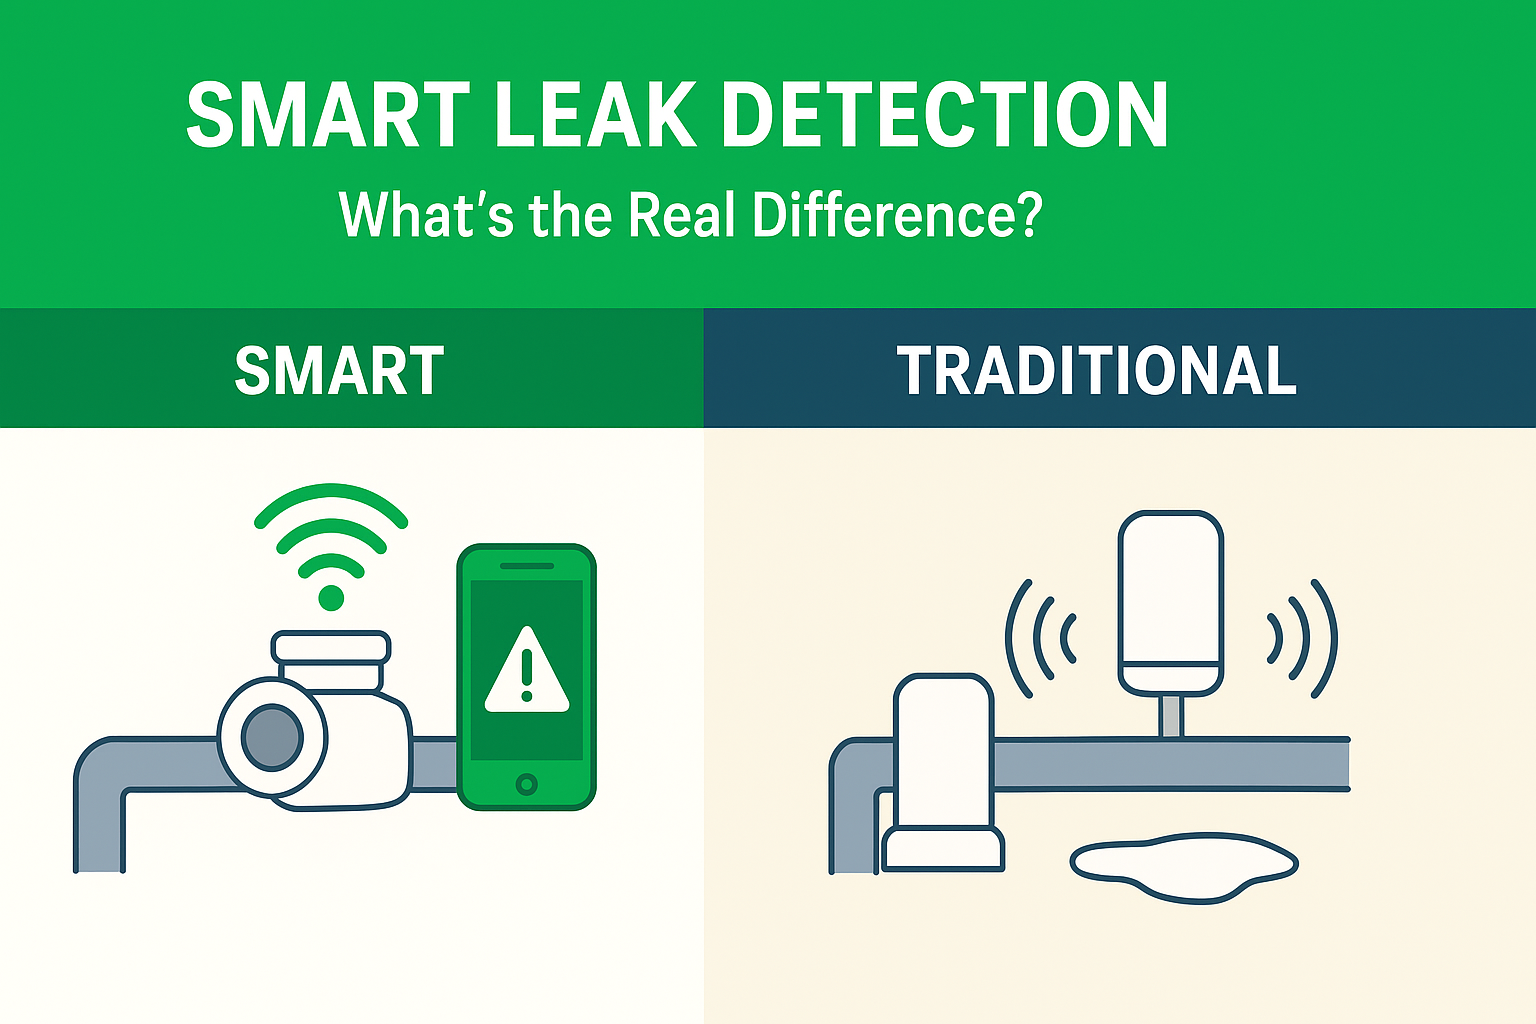
Today’s modern systems go far beyond beeps and blinking lights. The newest generation of smart leak detection systems can automatically sense abnormal water flow, trigger alerts, and — most importantly — shut off the water instantly.
These systems combine:
Real-time flow monitoring
Automatic shutoff valves
Audible or connected alerts
But here’s the twist: not every modern system is truly smart.
Many rely heavily on Wi-Fi, mobile apps, and cloud servers — which means when your internet or power goes out, so does your protection.
That’s where aquaHalt stands apart.
The aquaHalt system, from WaterAutomation.com was designed for one mission — stop water damage at the source, instantly and reliably.
Rather than depending on smart-home integrations or mobile alerts, aquaHalt is engineered to work offline, powered by simplicity and fail-safe reliability.
It’s “smart” where it matters most — at the shut-off point.
✅ No Wi-Fi or Cloud Dependency
aquaHalt functions completely offline. It doesn’t need apps, accounts, or connectivity — and it keeps working even during power or internet outages.
✅ Instant Automatic Shut-Off
The system physically closes the water line the moment a leak is detected — preventing floods, not just announcing them.
✅ Local Audible Alarm
A loud, on-site alarm ensures the problem is noticed immediately, without relying on mobile notifications.
✅ Set-and-Forget Reliability
Powered by long-lasting AA batteries (over one year of use), aquaHalt requires zero maintenance, subscriptions, or software updates.
Feature | Traditional Alarms | Modern Shut-Off Systems | aquaHalt |
|---|---|---|---|
Internet Required | ❌ No | ✅ Often | ❌ No |
Stops Water Automatically | ❌ No | ✅ Yes | ✅ Yes |
Works During Outages | ✅ Yes | ❌ Often Not | ✅ Yes |
Maintenance | Low | High (apps, firmware) | Low |
Subscription Needed | ❌ None | ✅ Sometimes | ❌ None |
Ideal For | DIY users | Smart home setups | Landlords, homeowners, off-grid homes |
Smart doesn’t always mean complicated.
In fact, sometimes the smartest technology is the one that works quietly, consistently, and independently.
aquaHalt isn’t just a leak detector — it’s a first responder for your home’s plumbing system. It reacts in milliseconds to stop water flow and minimize damage, even when you’re miles away or the Wi-Fi is down.
For landlords, homeowners, or anyone who values simplicity with reliability, aquaHalt delivers real peace of mind.

Water damage is one of the most expensive — and preventable — maintenance issues in rental properties.
According to the Insurance Information Institute (2024), the average water damage claim in the US costs $11,605 per incident. In multi-unit buildings, that number can double because of stacked water lines and shared plumbing systems.
Yet, the EPA (2023) reports that 80% of rental water damage originates from preventable plumbing failures.
That’s why having a pre-turnover water inspection checklist isn’t optional — it’s essential for every property owner.
💡 Did you know? A simple $3 hose gasket failure under a tenant’s sink can result in $15,000+ in water restoration costs and weeks of lost rental income.
A proactive water inspection between tenants protects your property, reputation, and revenue.
Use this comprehensive checklist before every new lease signing:
Inspection Area | What to Check | Why It Matters |
|---|---|---|
Toilets & Faucets | Look for slow drips or continuous running water | Hidden leaks can waste over 5,000 gallons/month |
Appliance Connections | Verify dishwasher, washer, and refrigerator hoses | Common cause of unseen leaks and underfloor damage |
Shut-Off Valves | Test and tag all accessible valves | Quick manual shutoffs reduce emergency losses |
Water Heater | Inspect for corrosion, rust stains, or bulging | Aged units can rupture suddenly and flood rooms |
Under-Sink Cabinets | Check for dampness, swelling, or warped wood | Early warning signs of hidden leaks or mold |
Many landlords assume “smart” means connected — but reliability in rental units often means independence from Wi-Fi or apps.
That’s where the aquaHalt system from WaterAutomation.com stands out.
It’s a battery-powered, standalone leak-detection and automatic shut-off device — engineered specifically for low-maintenance and multi-unit reliability.
Key Features for Rental Properties:
✅ No Wi-Fi or Cloud Needed — Operates completely offline, ensuring it functions even during internet or power outages.
🔊 Local Audible Alarm — Emits a loud beep immediately when a leak is detected, continuing until manually reset.
🚰 Automatic Shut-Off — Instantly stops the water supply at the source (sink, toilet, or ice maker) to prevent flooding.
🔋 Battery-Powered Simplicity — Uses AA batteries that last over a year, perfect for “set-and-forget” landlords.
💡 Maintenance-Free Operation — No subscriptions, apps, or mobile alerts — ideal for managing multiple properties.
This simple, hardwired approach eliminates the complexity of connected systems while providing immediate, physical protection from water damage.
A small clause can save thousands in disputes.
Include a section requiring tenants to:
Report visible leaks immediately.
Avoid tampering with shut-off valves or detection devices.
Permit routine inspections for leak-prevention equipment.
This sets clear expectations while protecting you legally if negligence occurs.
For landlords managing apartments or condos, consistency is key:
Assign one technician to test all aquaHalt devices quarterly.
Keep a shared inspection log for each unit’s plumbing fixtures and valves.
Schedule annual plumbing assessments for stacked verticals (e.g., kitchens above kitchens).
A single failure in a multi-unit stack can impact multiple tenants — proactive checks minimize shared-loss risks.
Expense Type | Estimated Cost (USD) | Frequency |
|---|---|---|
Water restoration (after leak) | $10,000–$25,000 | Per incident |
Smart leak shut-off system (per unit) | $250–$400 | One-time |
Annual inspection | $100–$200 | Yearly |
ROI Example:
One avoided leak pays for an entire building’s worth of aquaHalt units — and then some.
Conduct a full plumbing inspection before every new tenant.
Install aquaHalt standalone leak detectors in kitchens, bathrooms, and laundry areas.
Add a water-damage clause to your lease agreements.
Keep records of maintenance and inspection dates.
➡️ Learn more about how aquaHalt helps landlords protect their investments without relying on Wi-Fi or subscriptions.
🔒 Protect your rental income before your next tenant moves in.
Discover aquaHalt — the offline, automatic shut-off system landlords trust for worry-free property protection.
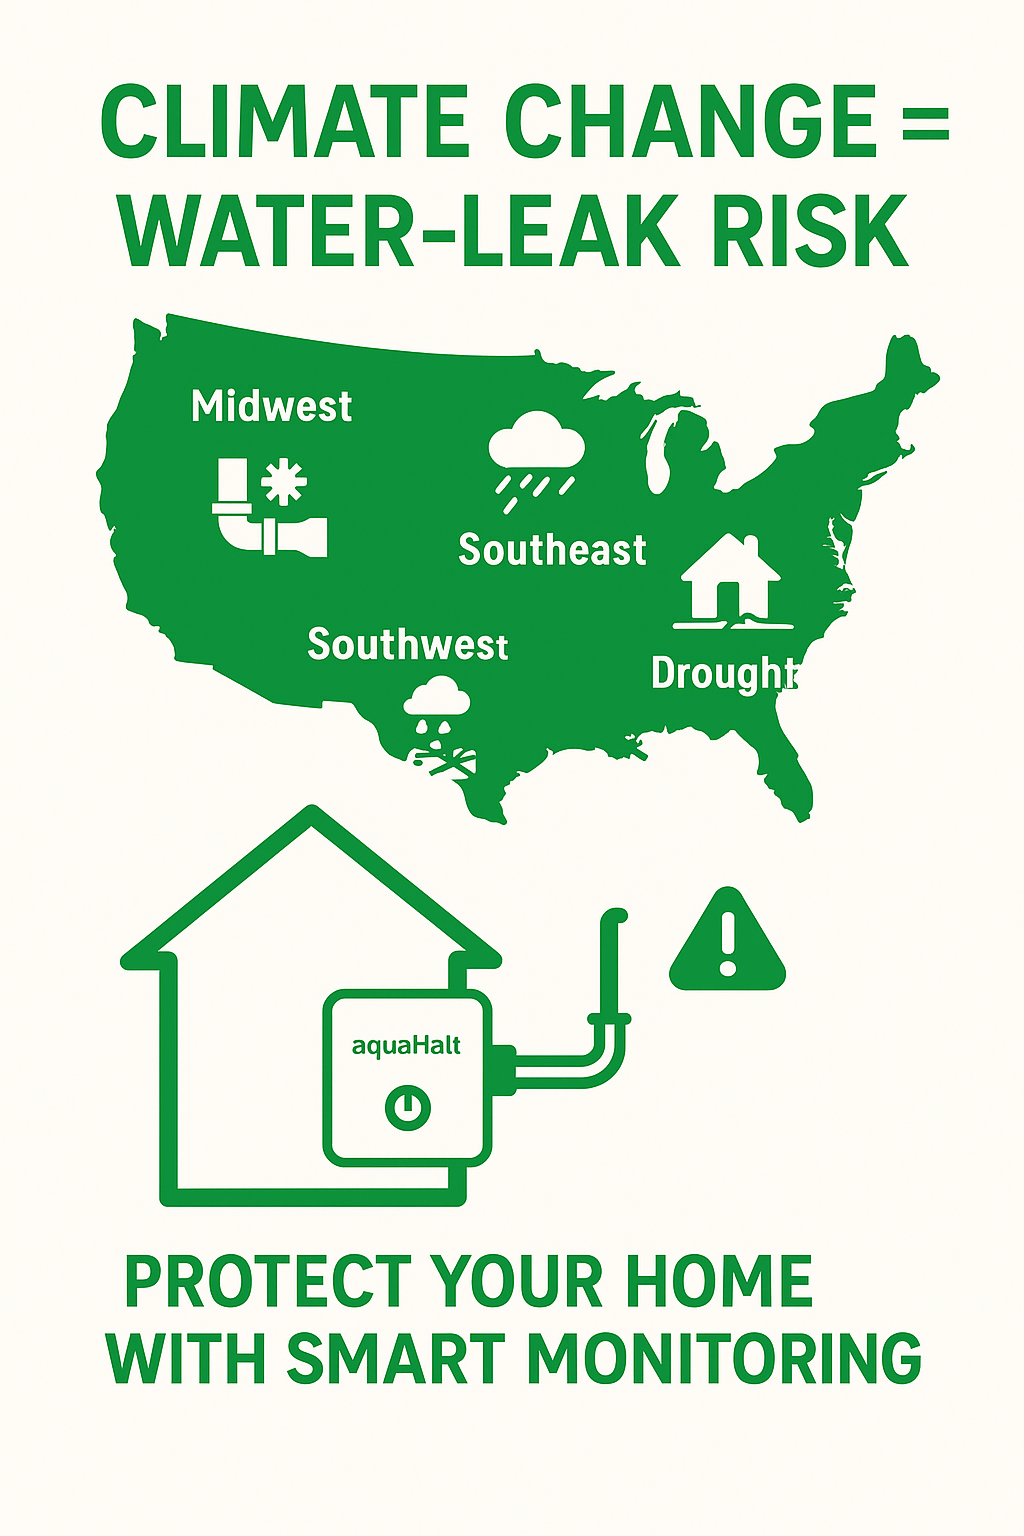
What’s happening: Climate change is increasing water-leak risk in US homes by altering weather patterns—more freeze-thaw cycles, heavier rainstorms, and shifting soil conditions are straining home plumbing systems like never before.
As climate shifts intensify across the United States, the risks of water damage in homes are rising sharply. Homeowners are seeing more frequent and severe plumbing failures tied to unpredictable weather — and most don’t realize that these leaks are directly connected to climate-driven factors.
Increased freeze-thaw cycles, heavier rainfall, and even alternating drought and flooding events are putting new stress on residential plumbing systems. These subtle yet powerful changes can silently destroy property foundations, flood basements, and cause thousands in damage before the issue is even detected.
In the Midwest, climate change has increased temperature volatility. According to NOAA, freeze-thaw frequency has risen by 12% over the past decade. This means pipes are freezing and thawing more often — expanding, contracting, and eventually bursting.
Once a pipe bursts inside a wall or under a crawl space, homeowners may not notice until significant water loss has already occurred. That’s where aquaHalt’s automatic shut-off system comes in: it detects abnormal water flow and immediately cuts off supply before catastrophic damage occurs.
Quick Tip: Insulate pipes in unheated basements, attics, and exterior walls before winter. Even a simple insulation sleeve can reduce the chance of freezing by 85%.
In the Southeast, the challenge isn’t freezing — it’s flooding. Climate change has brought heavier, more concentrated storms. FEMA data shows that the region’s annual stormwater incidents have risen by nearly 20% since 2015.
This deluge increases groundwater pressure around homes, leading to foundation cracks and sump pump overloads. Once water infiltrates the foundation, it can weaken concrete and trigger long-term mold and structural issues.
Installing smart leak sensors near sump pumps and basement perimeters gives early warnings before leaks become full-blown floods. Pairing these sensors with aquaHalt’s smart shutoff adds an automated layer of protection during storm surges.
In the Southwest, the water problem flips. Prolonged drought causes the soil to dry out and contract — then flash floods suddenly soak and expand it, putting extreme stress on underground plumbing and slab foundations.
These fluctuations can fracture older pipes or loosen fittings beneath concrete. It’s a silent destroyer: leaks may continue for weeks before showing signs like rising water bills or damp patches on flooring. Monitoring systems such as aquaHalt can catch micro-leaks early by detecting abnormal flow rates and sending instant alerts to homeowners.
According to the EPA (2023), nearly 80% of household water leaks occur in hidden or underground lines. Unlike visible drips, these leaks go unnoticed — causing:
Foundation erosion
Mold growth
Rising humidity
Insurance premium hikes
Once water seeps into walls or slabs, repair costs skyrocket. A hidden pipe leak can cause $10,000+ in restoration expenses, while a smart monitoring system costs a fraction of that.
Region | Preventive Steps |
|---|---|
Midwest | Insulate pipes, seal crawl spaces, drain outdoor lines before winter. |
Southeast | Inspect gutters, test sump pumps, add basement humidity sensors. |
Southwest | Check slab plumbing annually, install leak sensors near appliances and radiant systems. |
These steps, combined with smart monitoring, can cut water damage risks by up to 60%.
The Insurance Information Institute (2024) reports that the average US water damage claim is $11,605. Compare that with the $250–$400 investment in a home leak-detection setup, and the math is simple — prevention pays for itself the first time it stops a leak.
Add the peace of mind from 24/7 protection, and the value extends beyond dollars: it’s about safeguarding family, property, and future resale value.
Audit all vulnerable water lines — especially older or outdoor systems.
Install smart sensors in high-risk areas like basements, slab floors, and laundry rooms.
Schedule seasonal inspections (spring and fall) to test for freeze or flood readiness.
Learn more about aquaHalt and how it can automate your home’s water protection system.
Climate change isn’t slowing down — and neither should your home’s protection. From Midwest cold snaps to Southeast storms, the key to resilience lies in data, detection, and decisive action.
By integrating aquaHalt into your home’s plumbing ecosystem, you’re not just installing a device — you’re building an intelligent defense system against tomorrow’s weather extremes.