
“A leak of just one drip per second wastes over 3,000 gallons of water a year.”
— U.S. Environmental Protection Agency
Let that sink in.
Now multiply it across a hotel. An office block. A warehouse. What starts as a barely-noticed drip becomes thousands of dollars lost—and not just in water bills. Structural damage. Mold remediation. Business interruption. Reputation. The silence of an undetected leak isn’t peace—it’s expensive.
I’ve seen it too many times: a facility manager glancing at a spike in utility costs and dismissing it as seasonal variance. Weeks go by. Then, a bulge in the drywall. Or an insurance claim. By then, the cost isn’t just financial—it’s operational.
That’s why commercial water leak detection isn’t optional—it’s foundational. In this article, I’m going to break down how to detect water leaks before they break you. No fluff. Just specific, proven methods that work—whether you manage a commercial building, oversee facility maintenance, or simply want to protect your bottom line.
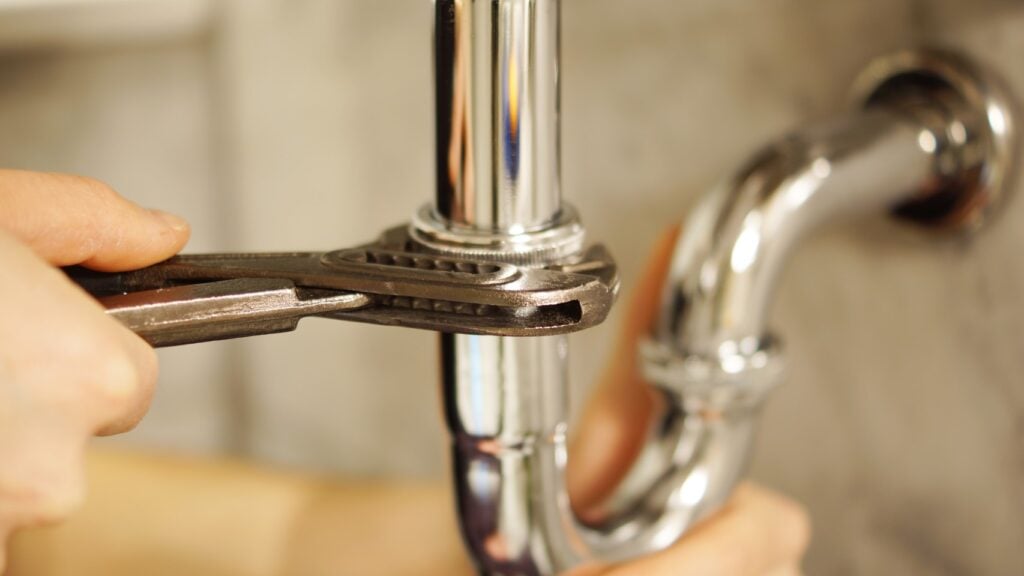
Your water meter is more than a billing tool—it’s a built-in leak detector. Here’s what to do:
This is especially useful overnight or during known downtimes. No water use should mean zero movement.
Thermal imaging cameras reveal subtle temperature differences that can indicate moisture behind walls, under floors, or above ceilings. These are invaluable for detecting:
It’s a smart investment—or worth outsourcing to a specialist once a year. I recommend thermal scans as part of any facility’s preventive maintenance plan.
Water escaping under pressure makes noise—even if you can’t hear it. Specialized acoustic sensors can detect this through:
The equipment listens for frequency changes and pinpoints the leak. This is critical for campuses or complexes where much of the infrastructure is buried.
Technology is your friend here. Wi-Fi-enabled leak sensors can alert you in real time, even remotely. Install them:
Some can even shut off the water supply automatically. If you’re managing multiple properties, this tech is a game-changer.
Detection is only half the equation. The other half is what happens next.
Every minute matters once a leak is active. Having a go-to plan reduces damage and keeps operations moving.
Leaks don’t announce themselves. They lurk. They wait. And they cost you—quietly at first, then loudly all at once.
Water leak detection isn’t just about preventing damage. It’s about protecting profit. Preserving infrastructure. Maintaining trust with clients, tenants, and stakeholders.
The best time to look for leaks? Before you have one. The second-best time? Right now.
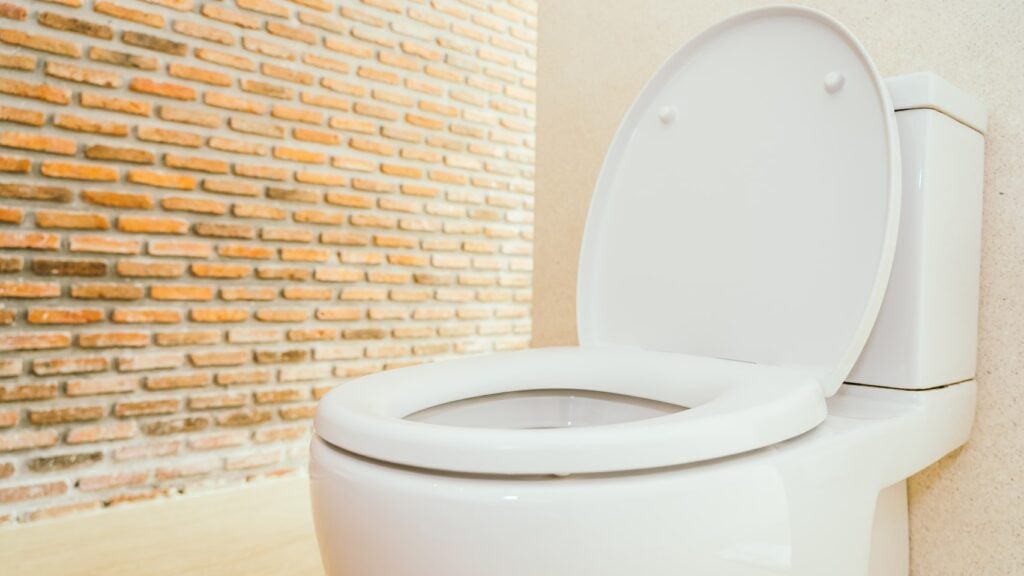
Now imagine your toilet is humming—literally making a low, vibrating noise—even when no one’s touched it for hours. That’s not normal. It’s your toilet whispering that something’s wrong. And if it’s humming, there’s a good chance it’s leaking too. The kind of leak that doesn’t just waste water—it slowly eats away at your water bill and, in some cases, your floors.
I’ve dealt with this. Many homeowners have. And here’s the kicker: fixing it is often faster and easier than people expect, especially when you use smart water leak detection tools to diagnose the problem accurately.
Let’s get into it—step by step.
That hum you hear? It’s usually the fill valve vibrating as water continuously flows or attempts to refill the tank due to a slow leak.
The most common causes:
Any of these can trigger the fill valve to engage sporadically or even constantly. That’s what creates the hum – and to stop toilet noise, you need to get to the root of it.
Before taking things apart, detect the leak. You can go analog or digital.
Manual method:
Smart method:
Install a smart leak detector like the aquaHALT. This device monitor real-time water usage and can alert you the moment unusual flow is detected. If your toilet is humming and using water when no one’s home, you’ll know right away.
This isn’t just tech for tech’s sake. It gives you data, fast. And it can prevent hundreds—sometimes thousands—of dollars in damage.
Once you confirm the leak, here’s how to tackle the common culprits:
1. Replace the Flapper
This is the rubber seal at the bottom of the tank.
2. Adjust or Replace the Fill Valve
If the humming continues after replacing the flapper, the fill valve may be the issue.
3. Check Water Pressure
Sometimes, excessive water pressure (above 80 psi) can cause the fill valve to vibrate.
These quick steps will help stop toilet noise at its source—without needing a plumber for most situations.
Once repairs are done, test the system:
A humming toilet isn’t just annoying—it’s a warning. And every minute it goes unchecked could mean more wasted water, higher bills, and even structural damage if leaks spread.
But here’s the good news: with a basic understanding of how your toilet works, some simple parts, and smart leak detection, you can handle this like a pro. In under an hour. With real savings to show for it.
That hum? Now it’s gone. Just silence—and a little peace of mind.

“Water damage accounts for nearly 24% of all insurance claims in the U.S.” That’s not just a number—it’s a quiet, creeping threat that can rot floors, collapse ceilings, and drain your budget without warning.
I’ve seen it happen. A pinhole leak behind a wall. A sump pump failure during a storm. And just like that—tens of thousands in repairs. The worst part? It could have been prevented.
We don’t usually think of water as a threat. It’s not fire. It’s not theft. But it’s relentless. Unseen. And it works slowly until one day it doesn’t.
The good news is this: we now have tools to stop it. Real tools. Smart systems that don’t just detect water—they prevent the damage before it starts. Let’s get into the systems that actually work, how to choose them, and how to make sure you’re covered—not soaked.
Think of it like this: instead of reacting to a disaster, you’re setting traps for it.
A modern water damage prevention system uses a network of sensors, automatic shut-off valves, and connected apps. They monitor moisture, flow rates, and pressure—and they act fast if something’s off.
Some are simple. A sensor near your water heater that beeps when it senses moisture. Others are sophisticated, tracking water usage and learning your home’s patterns to spot anomalies in real time. The more advanced ones can shut off your water main the second it detects a leak.
1. Smart Leak Detectors
Place them near appliances—washing machines, water heaters, under sinks, behind toilets. Prioritize areas where leaks are common. Go for sensors that send push notifications or SMS alerts. Battery backup is a must.
2. Flow-Based Monitoring Systems
These install directly on your water main. They monitor flow rate and volume—think of them as a heartbeat monitor for your plumbing. If it senses abnormal activity (like a burst pipe), it sends an alert—or shuts the water off automatically.
3. Automatic Shut-off Valves
This is the real game-changer. When combined with smart sensors or flow monitors, these valves turn off your water supply the moment a leak is detected. It’s like having a 24/7 first responder under your sink.
Water damage isn’t flashy. It doesn’t come with sirens. But it’s one of the most expensive and invasive disasters a property can face. The shift from damage control to damage prevention is long overdue—and with today’s tech, it’s easier and more affordable than ever.
You don’t need a smart home. You need a smart plan.
Every year, nearly one trillion gallons of water are wasted due to household leaks in the U.S. alone. That’s enough to supply 11 million homes for an entire year. It’s a staggering figure—and it doesn’t just hit your wallet or weaken your floorboards. It hits the planet, too.
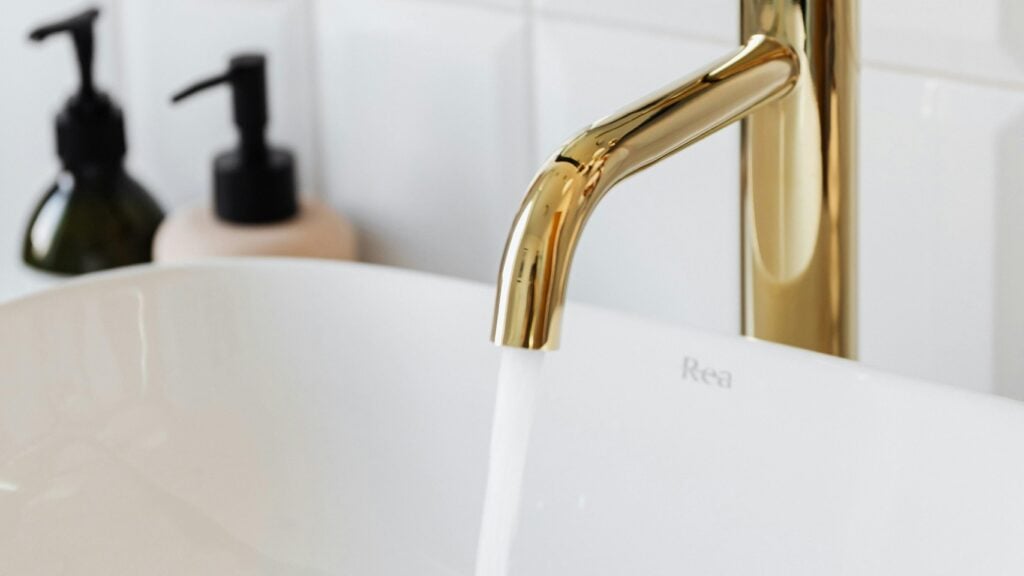
I didn’t always think about leaks this way. A dripping faucet used to feel like a small nuisance, maybe even a background noise I’d grown used to. But that quiet drip? It’s part of a much louder problem.
We talk about climate change, droughts, and water shortages as if they’re distant or seasonal concerns. But here’s the truth: the problem could be trickling right under your sink. Let’s dig into why fixing leaks isn’t just home maintenance—it’s environmental responsibility.
The Hidden Cost of a Drip
When we talk about leaks, most homeowners focus on structural damage or rising water bills. That makes sense. Those are tangible. You see the stains. You feel the sting of the bill. But the environmental impact is less visible—and more dangerous.
Leaks waste treated water. That’s water that’s already been extracted, filtered, disinfected, and pumped—using energy and resources—to your tap. When it leaks, that entire chain of resource use is squandered.
Worse? Leaks can lead to mold and rot, which often means replacing materials like drywall, insulation, and wood. The carbon footprint of producing, transporting, and installing those materials adds up quickly.
Here’s How to Take Action—Without Overhauling Your Life
Fixing leaks isn’t always about calling in a plumber for a full inspection (though sometimes it is). Small, consistent actions can prevent waste and protect your home:
It’s Bigger Than a Bill
We can’t afford to treat clean water as limitless. Not in our homes, and not on our planet. Household water leaks might seem small—a slow drip in a big system—but multiplied across millions of homes, they’re a major environmental loss.
So yes, fix that faucet. Check that valve. But more than anything, shift how you think about leaks. They’re not just home issues. They’re climate issues, too.

“Water damage is five times more likely than theft, and six times more likely than fire in your home.”
— Insurance Institute for Business & Home Safety
Let that sit for a moment.
When we talk about protecting our homes, we usually think alarms. Cameras. Deadbolts. But most people overlook one of the most common, most expensive threats hiding right under their sinks and inside their walls: water leaks.
I did too—until a pinhole leak under a bathroom vanity caused $4,300 in repairs. And most of that wasn’t even covered.
So here’s the thing: DIY water leak protection isn’t just a smart idea. It’s essential. And you don’t need to be an expert or spend a fortune to do it.
Start with the riskiest zones: under sinks, behind toilets, near your water heater, laundry machines, and anywhere plumbing disappears into the wall.
Buy a few smart leak sensors—the kind that connect to your phone via Wi-Fi. Some even shut off your water automatically when a leak is detected. I use the kind that also measures humidity and temperature changes, which gives early warning of potential mold risk too.
Pro Tip: Choose sensors with a loud audible alert and smartphone notifications. That way, you catch it whether you’re home or not.
Smart sensors are great—but don’t forget the basement, garage, and crawlspaces. Sometimes you don’t need anything fancy.
Basic battery-powered water alarms are about $10. Put one near your sump pump, water softener, or any low-traffic pipe junction. They scream when water is detected—enough to make you run.
It’s simple, old-school, and it works.
Here’s the big one. If you’re doing any renovation—or you’re just tired of worrying—install a whole-home automatic shutoff valve. These devices monitor water flow and detect anomalies like burst pipes or slow drips.
If something’s wrong, they shut the water off at the main. No drama. No floods.
Yes, this is more involved. Yes, it may require a plumber. But if you’ve already had one leak—or live in an older home—this is your peace-of-mind button.
And it’s the most powerful move in the DIY water leak protection playbook.
Here’s what I do every quarter, without fail:
Leaks don’t usually explode. They whisper. And if you listen early, you save big.
Water doesn’t care how new your house is. Or how careful you are. But with a little planning—and some smart, cost-effective tools—you can stop a disaster before it starts.
So take an hour this weekend. Walk through your home. Drop in a sensor. Set up a reminder. You’ll sleep better.
And you’ll have taken the most important step in DIY water leak protection: not waiting until it’s too late.