

Water leaks are one of those things businesses hope to never deal with—but the truth is, they’re more common than we’d like to admit. The hidden cost of water leaks is often underestimated, with businesses losing hundreds or even thousands of dollars every year. The real question is: can water leak detection actually save you money? The answer is a resounding yes. In fact, water leak detection systems are quickly becoming one of the most effective ways for businesses to reduce waste, avoid costly repairs, and ensure operational efficiency. Let’s explore how detecting leaks early can save your business substantial amounts of money in the long run.
While a small leak might seem insignificant, it can cause substantial damage over time. Leaks in plumbing, pipes, or equipment not only waste water but also increase operational costs. Over time, a slow leak can lead to higher utility bills, water damage to equipment or facilities, and the potential for costly repairs. According to the U.S. Department of Energy, businesses lose an estimated $6 billion a year from water leaks. And it’s not just the direct cost of water—inefficiencies in water use lead to wasted energy, excess wear and tear on equipment, and, in some cases, even business downtime.
Water leak detection technology involves a combination of sensors, smart meters, and data analysis tools to pinpoint leaks before they turn into major issues. These systems monitor water pressure, flow rates, and temperature changes, sending real-time alerts if they detect any anomalies. By catching leaks early, businesses can take immediate action, preventing the situation from escalating into something far more expensive. Services like WaterAutomation.com provide comprehensive leak detection solutions tailored to your business needs.
The beauty of water leak detection lies in its ability to prevent larger problems before they start. With early detection, businesses can avoid the following:
Water leaks, no matter how small, can dramatically increase your water costs. According to the Environmental Protection Agency (EPA), a single leaky faucet that drips once per second can waste more than 3,000 gallons of water per year. By detecting these leaks early, businesses can stop the flow before it results in high water charges.
A small leak left unattended can lead to significant damage—whether it’s water damage to property, mold growth, or corrosion of equipment. These issues can lead to expensive repairs and replacements. Early leak detection means that businesses can fix the issue before it escalates into a larger, more costly problem.
Water leaks don’t just waste water; they also waste energy. If your business relies on heated or pumped water, a leaking system will result in energy being wasted. The more efficiently your water system operates, the less energy you use, leading to further cost savings.
A major leak can disrupt your entire operation. Whether it’s disrupting manufacturing processes, damaging electrical equipment, or shutting down an entire building, the costs of downtime can quickly add up. Early detection helps prevent these interruptions, saving both time and money.
For businesses in the hospitality, manufacturing, or retail sectors, water leaks can lead to poor customer experiences. Imagine a leaking pipe that disrupts your services or facilities—it could have a long-lasting effect on your reputation. Detecting and fixing leaks quickly means your operations stay smooth, and customers remain happy.
You might be thinking: “Is it really worth investing in leak detection technology?” The answer is yes. While the initial cost of implementing leak detection systems might seem like an expense, the savings you’ll see in the long run far outweigh it. Businesses can save thousands annually by avoiding high water bills, expensive repairs, and operational disruptions. Plus, the environmental benefits of reducing water waste align with corporate sustainability goals and can boost your brand’s image.
To start reaping the benefits of leak detection, begin by assessing your water infrastructure. Identify areas where leaks are most likely to occur—such as pipes, tanks, or outdoor irrigation systems. From there, partner with a professional water management company, like WaterAutomation.com, to install smart sensors and meters that can monitor your system 24/7. By tracking your water usage and detecting leaks in real-time, you can proactively manage your water consumption and minimize costs.
Water leak detection is a powerful tool that can save businesses substantial amounts of money in both the short and long term. From reducing water and energy waste to avoiding costly repairs and operational disruptions, the benefits are clear. It’s time to invest in technology that not only protects your bottom line but also supports your sustainability efforts. So, the next time you ask, “Can water leak detection save you money?” remember that it’s not just possible—it’s essential.

“Water damage is the second most common insurance claim in the U.S.—and the average claim exceeds $11,000.”
That’s not a typo. Eleven thousand dollars. From a pipe you probably didn’t even know was leaking.
I learned that stat the hard way—walking into my basement one Monday morning to find soggy boxes, a warped floor, and a quiet, relentless drip behind a wall that had been going unnoticed for days.
Here’s the thing: most leaks don’t start with a dramatic burst pipe. They start small. Invisible. Silent. But left undetected, they become expensive fast. And that’s where a smart leak detector changes the game.
A modern smart leak detector isn’t just a passive sensor that chirps when there’s trouble. The best ones are Wi-Fi connected, monitor water flow in real time, and can even shut off your water supply automatically if a leak is detected.
Here’s how I use mine:
Some models (like the Flo by Moen or Phyn Plus) can even cut off the water supply immediately if they detect a catastrophic leak.
The result? I can travel without worrying. I can leave the dishwasher running overnight without checking it twice. And most importantly, I’ve avoided at least one very expensive disaster.
A good smart leak detector costs between $100 and $500, depending on how many sensors you need and whether you opt for automatic shut-off. Installation is usually DIY, though you might want a plumber for whole-home systems.
Compare that to:
It pays for itself the moment it catches just one problem early.
Here’s a quick checklist I give friends:
Bonus tip: Many insurance companies now offer discounts if you install one. Call yours and ask. That alone could cover the device cost.
Water damage doesn’t knock before it enters. But a smart leak detector stands at the door, watching—and acting—so you don’t have to deal with the cleanup later. For a few hundred dollars and an hour of setup, you can avoid a financial gut punch that most people only realize after it’s too late.
If you own a home, this is a no-brainer. Buy one. Set it up. Sleep better.
Your future self—standing in a dry, damage-free living room—will thank you.
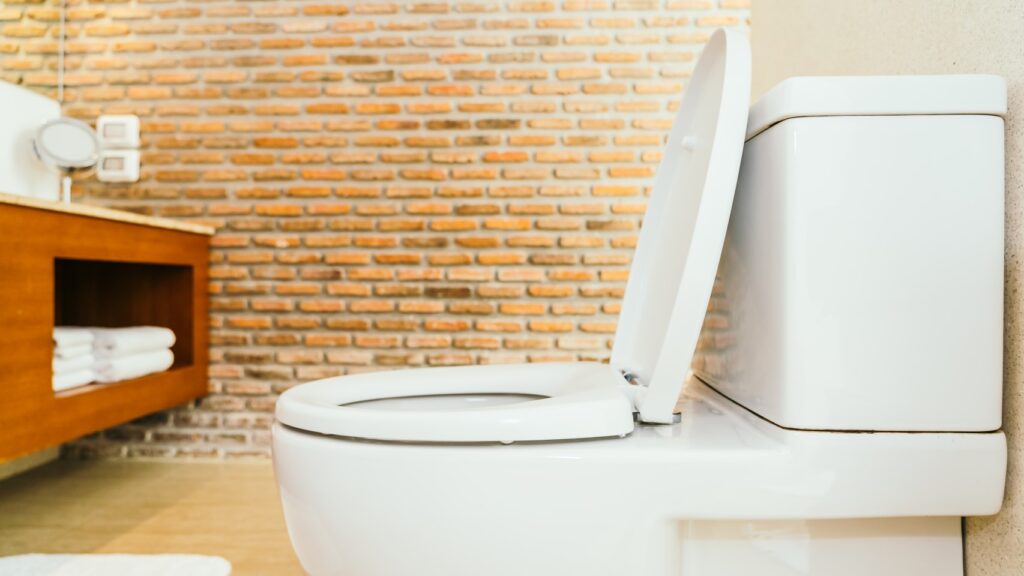
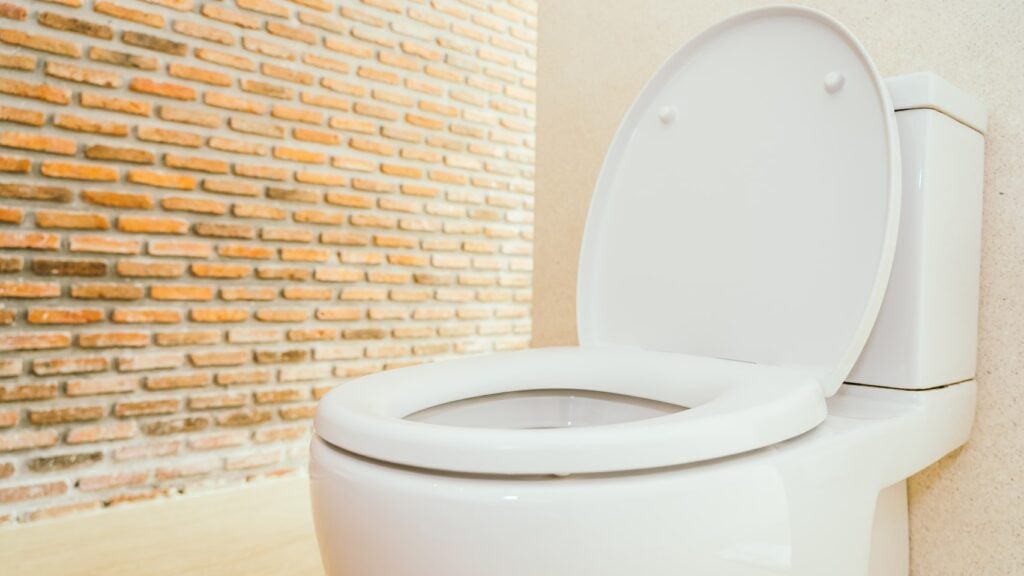
A single leaking toilet can waste up to 200 gallons of water a day. That’s not a typo. That’s one toilet, quietly draining your wallet and our shared water supply.
I learned this the hard way.
It started with a faint hissing sound. Barely noticeable. No puddles, no mess. But my water bill had crept up, and I couldn’t figure out why—until I discovered the leak.
Toilets are one of the most common sources of hidden water loss in both homes and commercial buildings. Yet many leaks go undetected for weeks, even months, simply because we expect leaks to look like dripping pipes or visible pools of water.
They often don’t.
In this post, I’ll walk you through exactly how I diagnosed and fixed my leaking toilet using simple water leak detection methods. Whether you’re a facilities manager, landlord, or just someone trying to reduce waste and cost—this guide is for you.
No fluff. Just clear, step-by-step insight that works.
You don’t want to start replacing parts without confirming the issue. Here’s how to test your toilet for a leak quickly:
Still not sure if it’s the toilet?
Try this:
This test costs nothing. Takes minutes. And it works.
Most toilet leaks come from one of three places:
Here’s how to check:
Once you know where the leak is coming from, the next step isn’t always to dive into repairs—it’s to decide what kind of repair makes the most sense.
Here’s how I break it down:
If you’re managing multiple properties or commercial restrooms, standardizing the internal components with rebuild kits can streamline future toilet leak repair and reduce maintenance time.
It’s not always about fixing one part—it’s about fixing the right part, and sometimes, upgrading the whole mechanism gives you better long-term value.
Repeat the dye test after repairs. Check the meter again. Make sure the leak is gone.
If everything stays dry and quiet—you’re good.
Fixing a leaking toilet isn’t just about saving water (though that’s huge). It’s about taking control of something most people ignore. Silent leaks cost hundreds over time—and they’re fixable in less than an hour with the right approach.
No plumber. No drama.
Just a little awareness, the right tools, and a willingness to lift the tank lid.
And if you’re managing multiple units or a commercial facility? Water leak sensors and smart meters can alert you to leaks instantly—long before they drive up bills or damage property. That’s a conversation worth having, especially when planning long-term toilet leak repair strategies across multiple bathrooms.
Water doesn’t ask permission before it leaks. But you can decide what to do about it.
If you’ve got a toilet that’s whispering in the night, it’s time to listen—and fix it before it shouts on your bill.
A smart toilet leak repair today saves you water, money, and stress tomorrow.
Now imagine your toilet is humming—literally making a low, vibrating noise—even when no one’s touched it for hours. That’s not normal. It’s your toilet whispering that something’s wrong. And if it’s humming, there’s a good chance it’s leaking too. The kind of leak that doesn’t just waste water—it slowly eats away at your water bill and, in some cases, your floors.
I’ve dealt with this. Many homeowners have. And here’s the kicker: fixing it is often faster and easier than people expect, especially when you use smart water leak detection tools to diagnose the problem accurately.
Let’s get into it—step by step.
That hum you hear? It’s usually the fill valve vibrating as water continuously flows or attempts to refill the tank due to a slow leak.
The most common causes:
Any of these can trigger the fill valve to engage sporadically or even constantly. That’s what creates the hum – and to stop toilet noise, you need to get to the root of it.
Before taking things apart, detect the leak. You can go analog or digital.
Manual method:
Smart method:
Install a smart leak detector like the aquaHALT. This device monitor real-time water usage and can alert you the moment unusual flow is detected. If your toilet is humming and using water when no one’s home, you’ll know right away.
This isn’t just tech for tech’s sake. It gives you data, fast. And it can prevent hundreds—sometimes thousands—of dollars in damage.
Once you confirm the leak, here’s how to tackle the common culprits:
1. Replace the Flapper
This is the rubber seal at the bottom of the tank.
2. Adjust or Replace the Fill Valve
If the humming continues after replacing the flapper, the fill valve may be the issue.
3. Check Water Pressure
Sometimes, excessive water pressure (above 80 psi) can cause the fill valve to vibrate.
These quick steps will help stop toilet noise at its source—without needing a plumber for most situations.
Once repairs are done, test the system:
A humming toilet isn’t just annoying—it’s a warning. And every minute it goes unchecked could mean more wasted water, higher bills, and even structural damage if leaks spread.
But here’s the good news: with a basic understanding of how your toilet works, some simple parts, and smart leak detection, you can handle this like a pro. In under an hour. With real savings to show for it.
That hum? Now it’s gone. Just silence—and a little peace of mind.

“Water damage accounts for nearly 24% of all insurance claims in the U.S.” That’s not just a number—it’s a quiet, creeping threat that can rot floors, collapse ceilings, and drain your budget without warning.
I’ve seen it happen. A pinhole leak behind a wall. A sump pump failure during a storm. And just like that—tens of thousands in repairs. The worst part? It could have been prevented.
We don’t usually think of water as a threat. It’s not fire. It’s not theft. But it’s relentless. Unseen. And it works slowly until one day it doesn’t.
The good news is this: we now have tools to stop it. Real tools. Smart systems that don’t just detect water—they prevent the damage before it starts. Let’s get into the systems that actually work, how to choose them, and how to make sure you’re covered—not soaked.
Think of it like this: instead of reacting to a disaster, you’re setting traps for it.
A modern water damage prevention system uses a network of sensors, automatic shut-off valves, and connected apps. They monitor moisture, flow rates, and pressure—and they act fast if something’s off.
Some are simple. A sensor near your water heater that beeps when it senses moisture. Others are sophisticated, tracking water usage and learning your home’s patterns to spot anomalies in real time. The more advanced ones can shut off your water main the second it detects a leak.
1. Smart Leak Detectors
Place them near appliances—washing machines, water heaters, under sinks, behind toilets. Prioritize areas where leaks are common. Go for sensors that send push notifications or SMS alerts. Battery backup is a must.
2. Flow-Based Monitoring Systems
These install directly on your water main. They monitor flow rate and volume—think of them as a heartbeat monitor for your plumbing. If it senses abnormal activity (like a burst pipe), it sends an alert—or shuts the water off automatically.
3. Automatic Shut-off Valves
This is the real game-changer. When combined with smart sensors or flow monitors, these valves turn off your water supply the moment a leak is detected. It’s like having a 24/7 first responder under your sink.
Water damage isn’t flashy. It doesn’t come with sirens. But it’s one of the most expensive and invasive disasters a property can face. The shift from damage control to damage prevention is long overdue—and with today’s tech, it’s easier and more affordable than ever.
You don’t need a smart home. You need a smart plan.